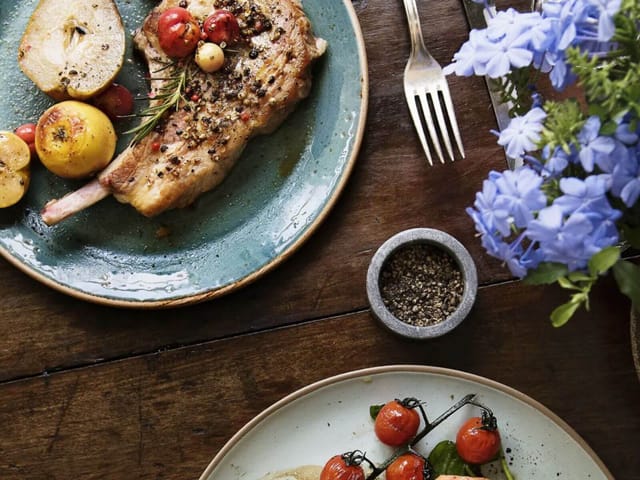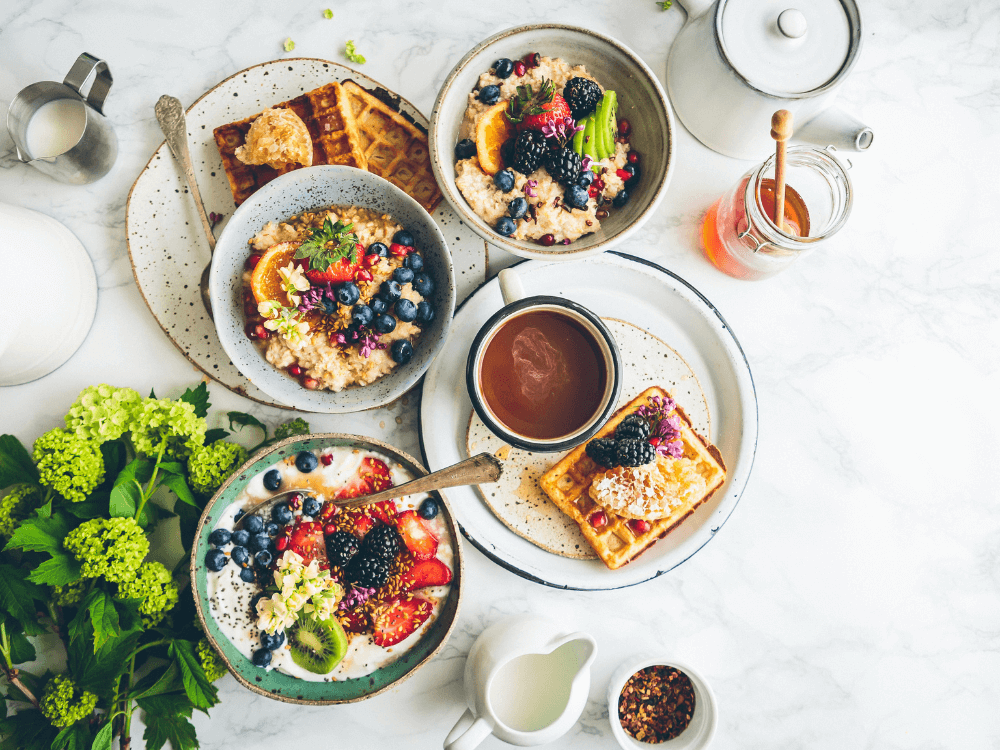
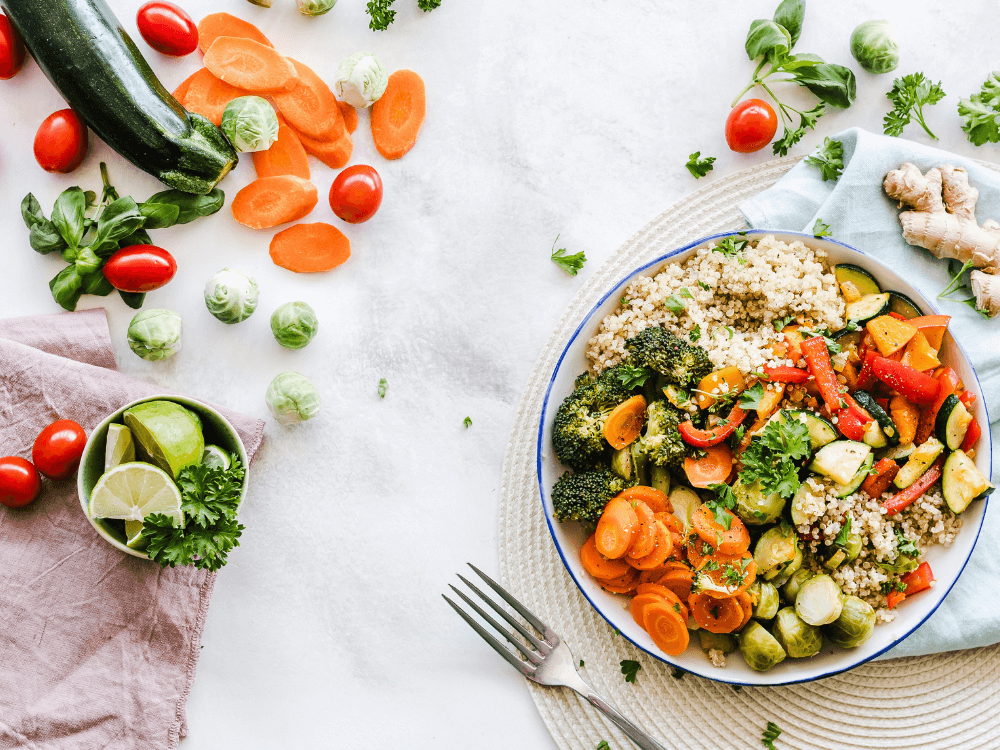
Food photography is essential to many businesses worldwide, from restaurants to hotels and food manufacturers. It is a crucial part of marketing efforts, being an excellent tool for appealing to people’s primal senses and getting them to buy the product.
And going past the transactional nature of food photography, it has the power to spark a feeling that goes beyond hunger. A photo of a fruity refreshment can remind you of summertime, and a picture of comfort food can teleport you back to childhood.
If you want to learn how to edit food photos to make your food shots look fresh, natural, flavorful, and irresistible, you’re in the right place. Follow this guide, and you will obtain perfect food photography.
Step 1: Straighten and crop your food photo
Before getting into any serious image editing, start by doing some cropping and straightening. First, make sure the horizon line is on point. Next, use the crop guidelines in Lightroom and rotate the image until your subject is well framed and straight.
At this point, check if you have any unwanted elements in your image and remove the background.
Step 2: Adjust the white balance
Check your “temp” and “tint” to get the right amount of cool and warm in your food photography. Lightning can influence white balance, so make sure you adjust this accordingly. In food photography, it’s best to find a perfect balance between cool and warm.
Play with temperature sliders by moving them back and forth until you find a balance that looks good to your eye and your stomach.
PRO TIP: if you want to get white balance right from the start, use a grey card during your photoshoot. This helps you ensure that your whites are white. A grey card is a piece of plastic that you can buy at a photography store, and it’s precisely 18% grey, which will help your camera perfectly meter a scene.
Step 3: Correct exposure and contrast
When adjusting exposure and contrast, think about the amount of edit that will maintain as much detail as possible in the shot. Then, slide each scale, adapt based on your photo's brightest side,, and ensure that the lightest part is not overexposed. If you follow this rule, you will get the correct exposure - unless you are going for a specific aesthetic like dark and moody or bright aesthetic, of course.
Play with highlights, shadows, whites, and blacks and see how they impact your image until you get exactly what you want. Don’t ignore the curves when editing because this tool can also be used to adjust the overall brightness and contrast.
Step 4: Boost your food photos through clarity, vibrance, and saturation
People first notice an image's color, so make sure your colors look good together. Especially as we are talking about food photography, colors are the ones that can boost an appetite and make the food look delicious.
Clarity is one of our favorite image editing tools because it adds contrast to the mid-tones and offers extra texture to food. Color vibrance is also cool, as it allows you to boost colors in a subtle and natural-looking way. The saturation slider, on the other hand, should be handled carefully, as you can quickly go overboard and make your image look unaesthetic.

Step 5: Reduce noise
This step is time to remove any speckles of color or light from your image. Noise usually is a problem, especially if you have been shooting low exposure or with a high ISO (but unlikely to appear if you are shooting in a photo studio). By slightly adjusting the noise reduction section in Lightroom, you can improve the overall quality of your photo in seconds. Noise reduction will minimize the grain and make your food photography look smoother. But if you are not careful and overdo it, you can blur details and get a flat-looking image.
Step 6: Add a little bit of sharpening for your food photography
A bit of sharpening is just like the cherry on the top of the cake - it’s always the last step in your image editing process when you are already satisfied with the image editing. Sharpening will add some contrasting pixels and make your image look more refined.
Remember that sharpening will never make a blurry photo look sharp, and it’s not something to add to the whole image. For example, creating a mask can sharpen only the focused elements in your image.
Final words
Now that you have gone through all the steps, you are ready to create drool-worthy images. The secret in food photography image editing is to make subtle edits but that makes your image look refined and balanced. The rule of thumb is to strive to make your pictures look natural and always ask yourself if the image you are looking at is making you hungry or not, as this is the perfect indicator of the quality of food photography and image editing.
Are you seeking help from a professional team to edit food photos? Then, get in touch with us today and see how our photography and image editing services can elevate your business.