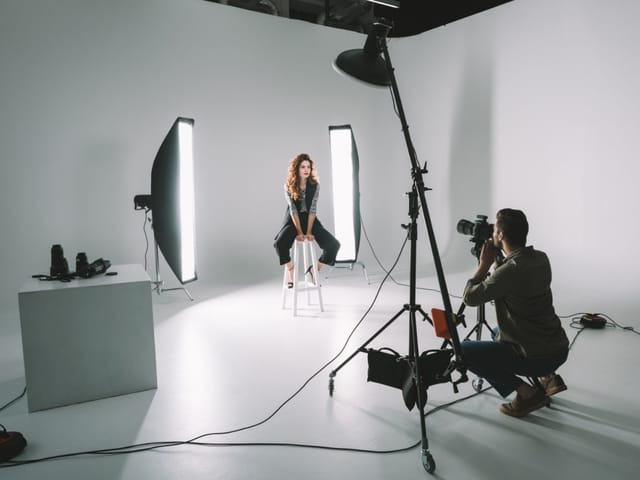
Today will approach the subject of swimwear or nude photography and image editing.
Swimwear photography or nude photography editing is very similar to portrait editing, but it requires more experience and extra attention to detail to achieve a balanced outcome.
When retouching the human body in professional photography, image editing can take quite a lot of time. When a lot of skin area is exposed, imperfections or details that need to be removed in the final image may need an extra degree of work.
In this article, you can find some tips and tricks to for editing bikini, swimwear, or nude photos. These tips will save you time and help you achieve beautiful images.
Fix the white balance and skin tones
Incorrect white balance leads to unnatural-looking skin, so this is the first step for skin retouching.
If your whites are clean, the colors in your images will be accurate, no matter the temperature in your camera settings or the type of light produced by your photography lights.
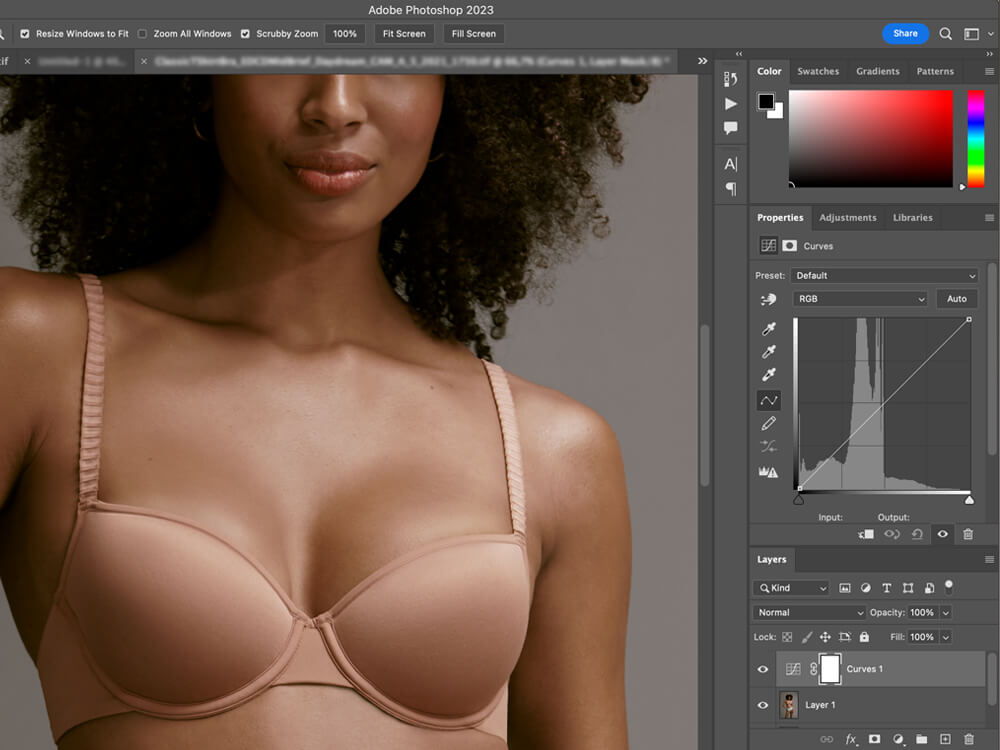
Use the Curves Tool or Color Picker to correct the white balance.
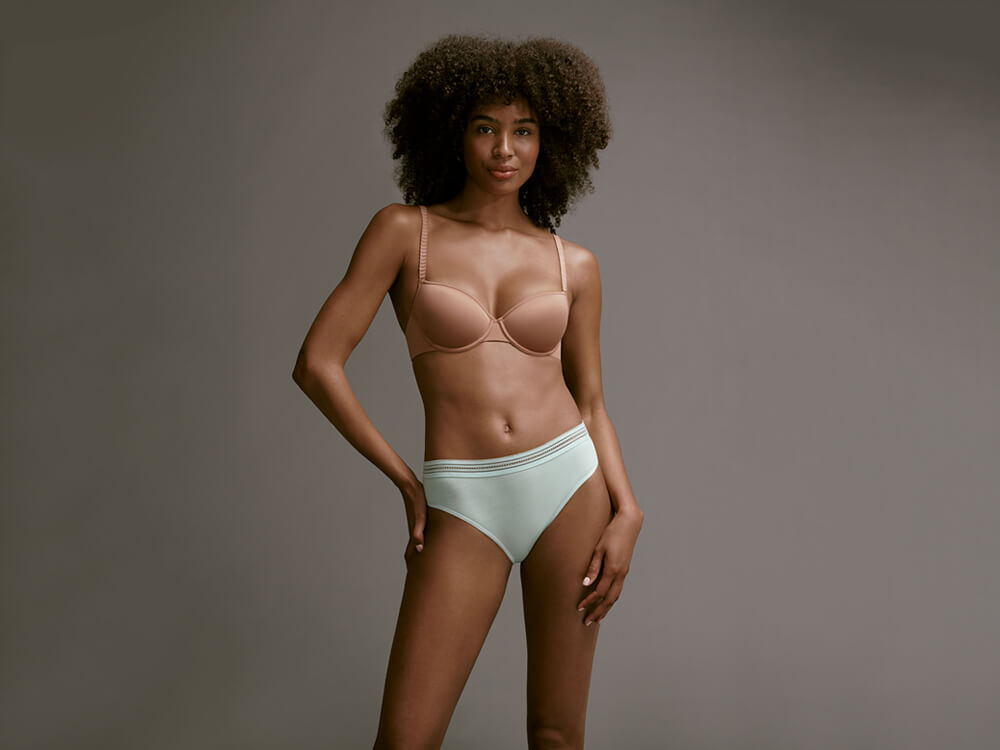
Another critical aspect of bikini photo retouching is a balanced skin tone.
Disruptions in skin tone can result from uneven tanning, makeup, or even bad lighting.
Your quest is to make skin tone look even on all body parts, so your final image will be pleasing to the eye.
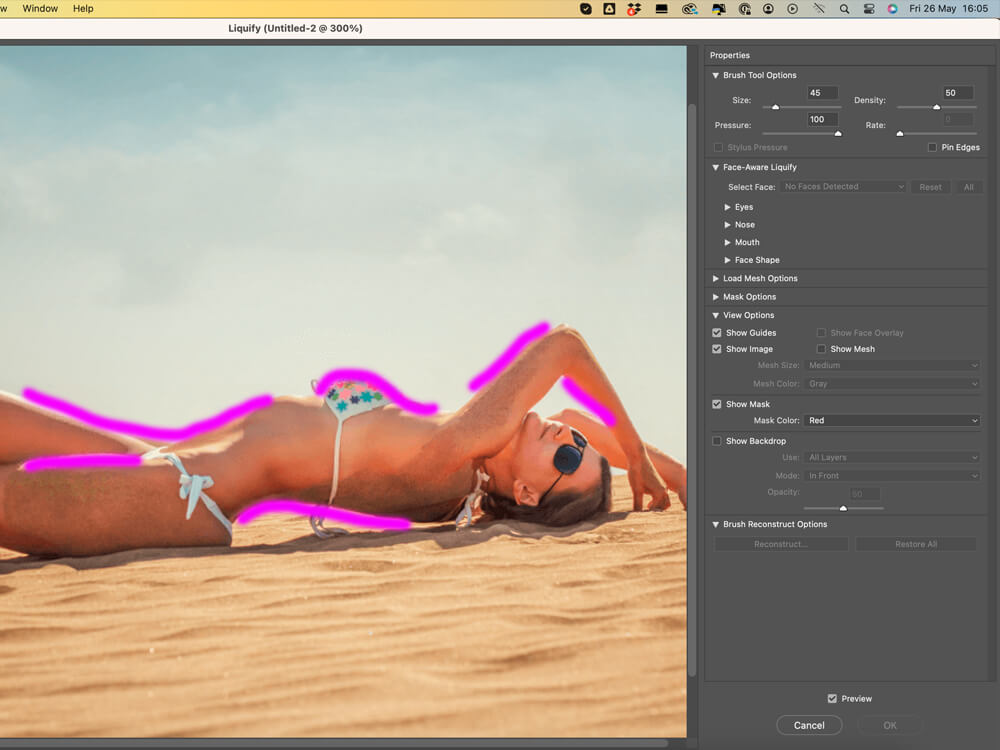
Give the Liquify tool a try (but don’t cross the line)
The Liquify tool is quite controversial, but there’s no question that it’s handy when you have the desired outcome in mind.
This tool helps you easily alter the shape of the body and face.
However, make sure you don’t get carried away in modifying the appearance of your model through photo manipulation and aim for a natural-looking result.
Explore Frequency Separation
If you want to be a pro in skin retouching, you must learn how to smooth skin in Photoshop.
Frequency Separation is a popular technique in retouching, particularly for skin in portraits and lifestyle images. It works by separating the color (low frequency) and texture (high frequency) details of an image into two separate layers, which can then be worked on independently.
Here's a step-by-step guide for Photoshop:
Step 1: Duplicate Layers
- Open your image in Photoshop.
- Duplicate your background layer twice so that you have three layers of your image. You can do this by selecting the background layer and pressing Ctrl+J (Cmd+J on Mac) twice.
- Name the first duplicate as "Low Frequency" and the second as "High Frequency".
Step 2: Apply Gaussian Blur (Low Frequency Layer)
- Turn off the visibility of the High Frequency layer by clicking the eye icon next to it.
- Select the Low Frequency layer.
- Go to Filter > Blur > Gaussian Blur. The radius will depend on your image. You want to blur it enough to remove the skin texture but retain the color and tone - usually between 3 and 6 pixels. Click OK.
Step 3: High Frequency Layer
- Turn on the High Frequency layer and select it.
- Go to Image > Apply Image. A dialog box will open.
- In the Layer dropdown, select "Low Frequency".
- In the Blending dropdown, select "Subtract."
- In the Scale input, type 2.
- In the Offset input, type 128.
- Click OK.
- To see the texture on this layer, change the blending mode of the High Frequency layer to "Linear Light."
Step 4: Retouching
Now that you have separated the texture and color, you can work on them independently.
-
Low Frequency (Color): You can use the Lasso tool to make selections and then apply a Gaussian blur to blend colors or use the Mixer Brush tool to mix the colors. You want to even out the color transitions without affecting the texture.
-
High Frequency (Texture): You can use tools like the Clone Stamp or Healing Brush to fix blemishes or other texture issues. Ensure "Current Layer" is selected in the options for these tools.
Remember that less is often more with retouching - the aim is typically to enhance the natural look of the image, not to create a perfectly smooth, plastic appearance.
Step 5: Fine-tuning
After you have retouched the image, you can use other adjustments for color correction, contrast, and sharpening if necessary.
Remember, it's a subtle art that takes some practice to master. Keep experimenting, and you'll improve over time!
If you need help with your projects or us to help you, please drop us a message.

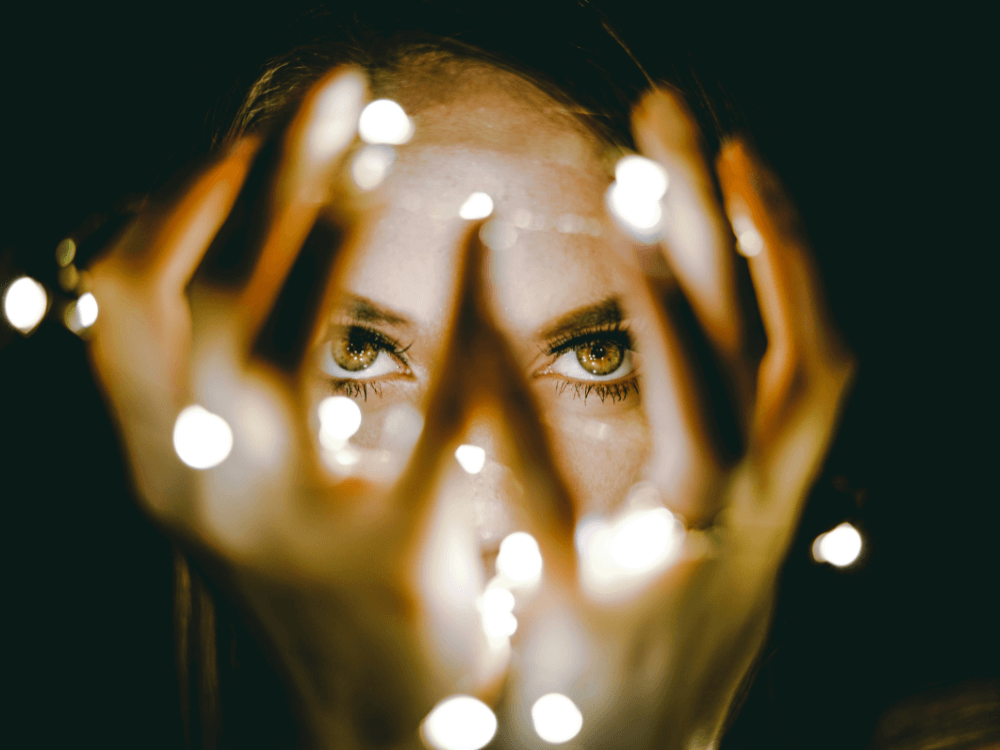
Enhancing Eye Brightness
Regardless of whether the focus is on bikini, nude, or portrait photography, the eyes invariably command significant attention due to their captivating allure.
Eyes that aren't properly emphasized can detract from the overall appeal of an image while accentuating them can enhance the expressiveness of your model and stir emotions.
To mitigate any redness around the eyes, consider using the Spot Healing Brush or Clone Tool. Following this, employ the Dodge and Burn tools to illuminate the iris.
It's crucial to brightening the area reflecting the light source to maintain a natural appearance and avoid creating an unnatural effect. For those seeking to sharpen the eyes, gaining proficiency with the mask tool in Photoshop is a valuable skill to develop.
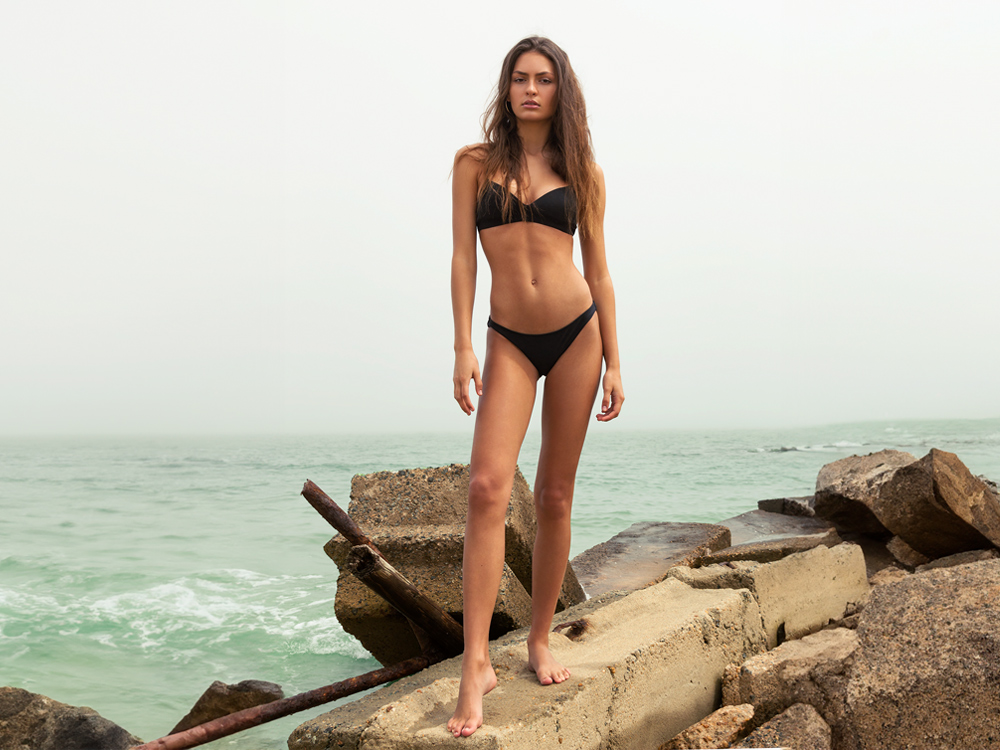
Embrace the Art of Cropping
Cropping is pivotal in image editing, akin to other essential elements. It not only enhances the framing of your image but also contributes to its polished and aesthetically pleasing appearance.
Utilize Photoshop's crop tool to eliminate extraneous details from the background, thereby directing the viewer's focus toward the key elements of the image. With RAW images, there's no need to worry about compromising image quality, so feel free to crop as needed.
However, exercise caution when cropping around the model. Avoid cropping at the middle of a limb, such as at the elbow or knee. Instead, aim for areas in-between to maintain a natural look and prevent any editing mishaps.

Experiment with Lightroom Presets
If you're a Lightroom user, take advantage of the numerous professionally created presets available for tasks like color correction and creative color applications, including black and white, deep shadows, and overexposure, among others.
However, always keep in mind the preferences of your client or model. Avoid over-editing unless specifically requested to do so.
In Conclusion
Bear in mind that model photography is a creative canvas for you to experiment with a variety of image editing techniques and styles.
Always keep the client's preferences at the forefront and avoid excessive photo manipulation.
You'll find that editing bikini photos can be an enjoyable and rewarding process.
Should you require assistance with your model body retouching, our team stands ready to lend a helping hand.