Lights, camera, action! If you think about it, there is a reason why the order of things in this cliche expression is in that specific way. When it comes to photography or film, knowing how to work with light is probably the biggest challenge. Studio lighting can be confusing and intimidating for beginners. Still, by the end of this article, you’ll have some insight into the basics of studio lighting and have some ideas for your first experiments with lighting setups.
Natural vs. artificial light
The two main types of light in photography are natural and artificial. Most photographers prefer one or the other. But the truth is that if you hear people hating artificial lights, this probably comes from an experience with poor light setups. Remember that knowledge is power, so it’s essential to master both natural and artificial light if you consider a career in photography.
Types of studio lighting
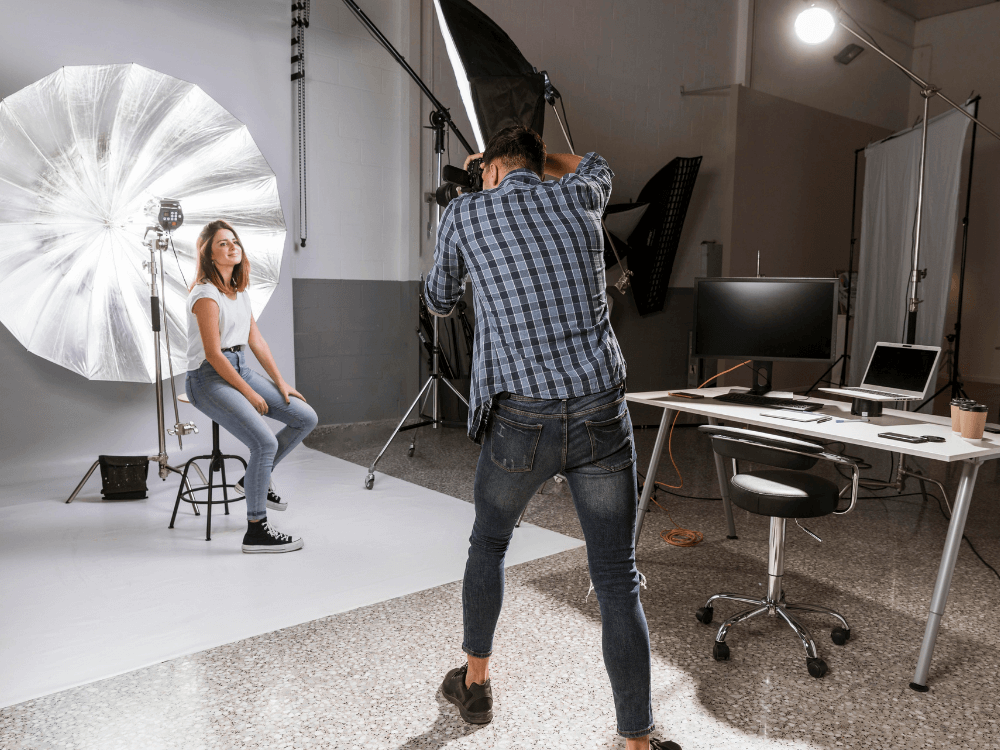
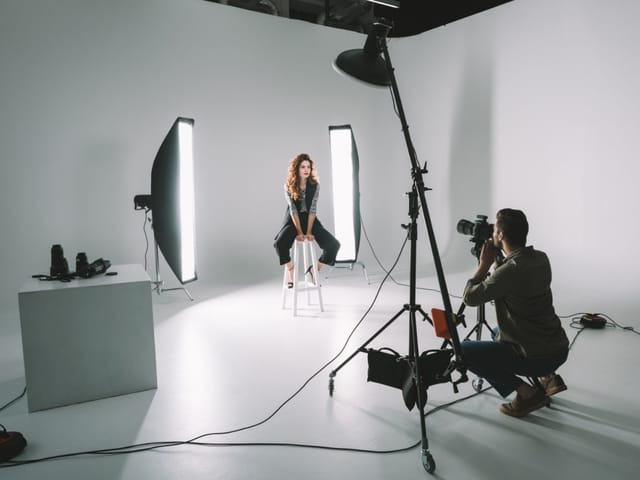
In a studio setup, you will usually find continuous lights (the kind that is always lighting your subject) or a strobe (the type that you start by pressing a button). Photography lights can be soft diffused) or hard (focused), depending on the level of contrast they produce. A hard light will add contrast and shadows to your subjects, while a soft light will increase the range of mid-tones, making shadows and reflections softer.
-
Key light
If you could choose one studio lighting, you should go with a critical light. In any setup, the key light is the primary light source for continuous lighting. The critical light's purpose is to highlight your subject's form and size. Then, other lights are used to complete the work done by the key light.
-
Fill Light
The fill light is usually used together with the key light for brightening the harsh shadows produced by the critical photography light. This light can have the same intensity as the key light, but you will generally want some shadow to add dimension to your shot.
-
Separation light (or hair light in portrait photography)
This light’s purpose is to focus on one part of a subject (the hair, for example). The light beam coming from this type of light is narrow, not to affect any other part of the subject. A separation light should be as high or a bit higher than your key light to help your subject stand out from the background.
-
Background light
When it comes to lighting, the subject comes first while the background remains, well… secondary. Background lighting is a lot of fun, and it’s great for eliminating shadows on the background by your subject. But unfortunately, this type of light is usually dimmer than the light key.
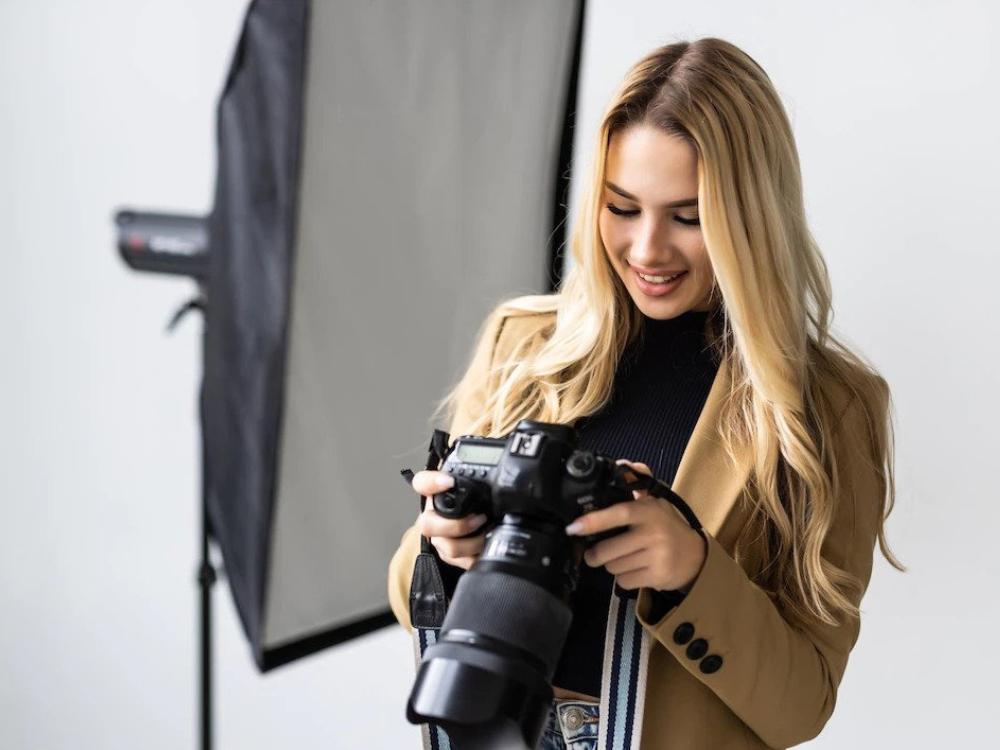
Popular lighting techniques.
Now that you know about some types of studio lights available let’s see how you can use them to achieve a particular look or atmosphere in your product photography. Some techniques will make your photos dramatic, while others will look soft and cozy. You can use the following ideas depending on the style you are after and what kind of photoshoot you need.
1. High Key Lighting
A high light setup uses two or more light sources to create a bright image with almost no shadows. It’s widely used in commercial or product photography to produce bright images that showcase great detail.
2. Three-point lighting
The 3-point lighting, as its name suggests. It uses three light sources in three positions (a key light, a fill light, and a backlight). By playing with the distance, intensity, and position of these light sources, you can control how light and shadow drop on a subject, creating different moods.
3. Backlighting
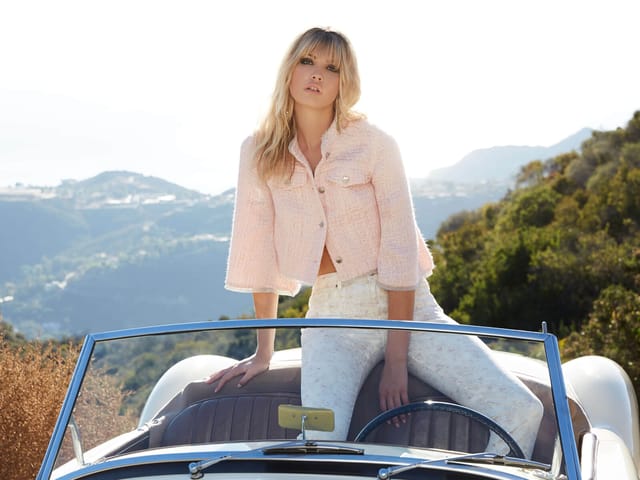
Backlighting or rim lighting is a setup that helps you create compelling images by highlighting only the edges of your subject. This technique is also used with natural light - the sunset being a perfect moment for backlight shots, giving your subject a glowing look.
4. Rembrandt lighting
As the name suggests, this technique was Inspired by the famous painter using this type of light in his portrait work. To achieve this effect (primarily used in portrait photography), you will place your subject around 90 degrees away from the primary light source, with the light at approximately the same height as your subject.
One side of the face will be in shadow, but one triangle of light should fall on the cheek. Rembrand lighting will make a round face look slimmer.
5. Butterfly Lighting
Another popular lighting technique is butterfly lighting. This light casts a swing-shaped shadow under the subject's nose. To achieve this effect, place your light behind and above your camera, and point it at your subject facing the camera.
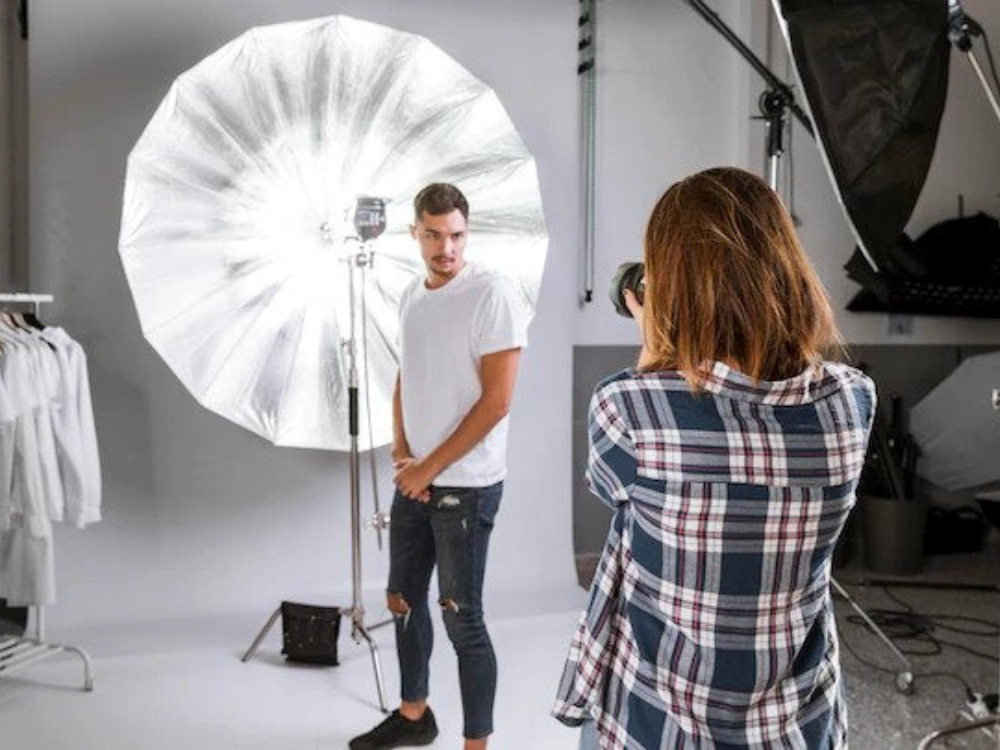
To wrap it up…
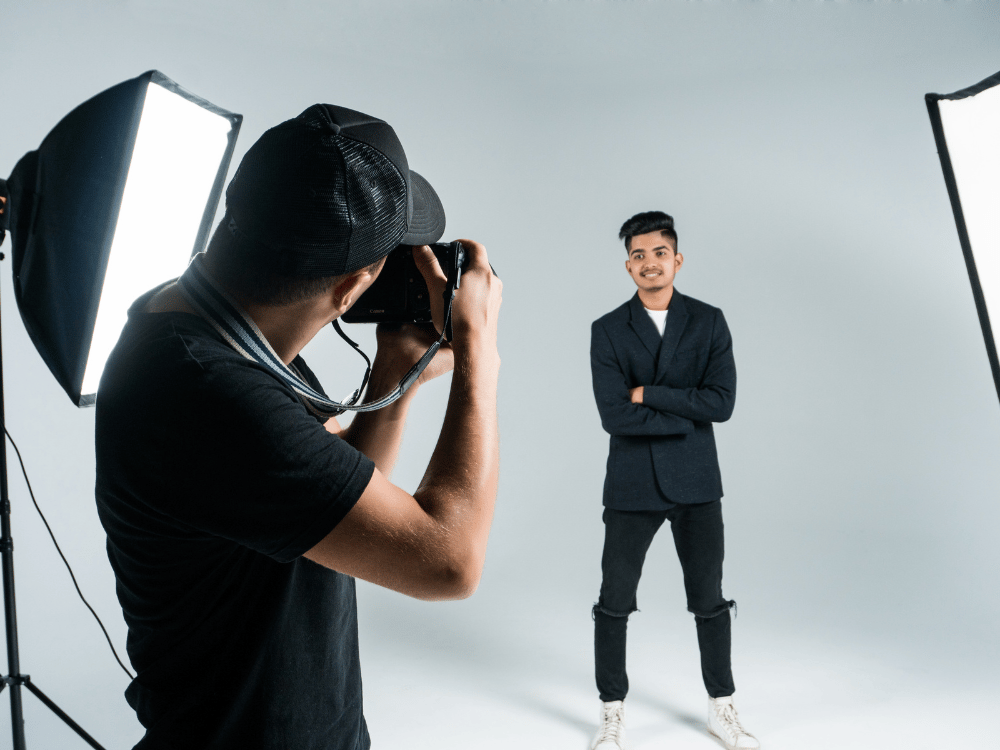
Now that you know some basics, you can start by getting one inexpensive light and experiment. If you are just beginning, try a key light and a few accessories like a softbox, umbrella, and reflector; play around and add equipment.
The secret is to constantly experiment, adjust and repeat until you get the result you are going for. Adjust the camera settings, the position of your subject, and the light to explore the new creative territory.
Which is your favorite studio lighting technique?


