

Project Details:
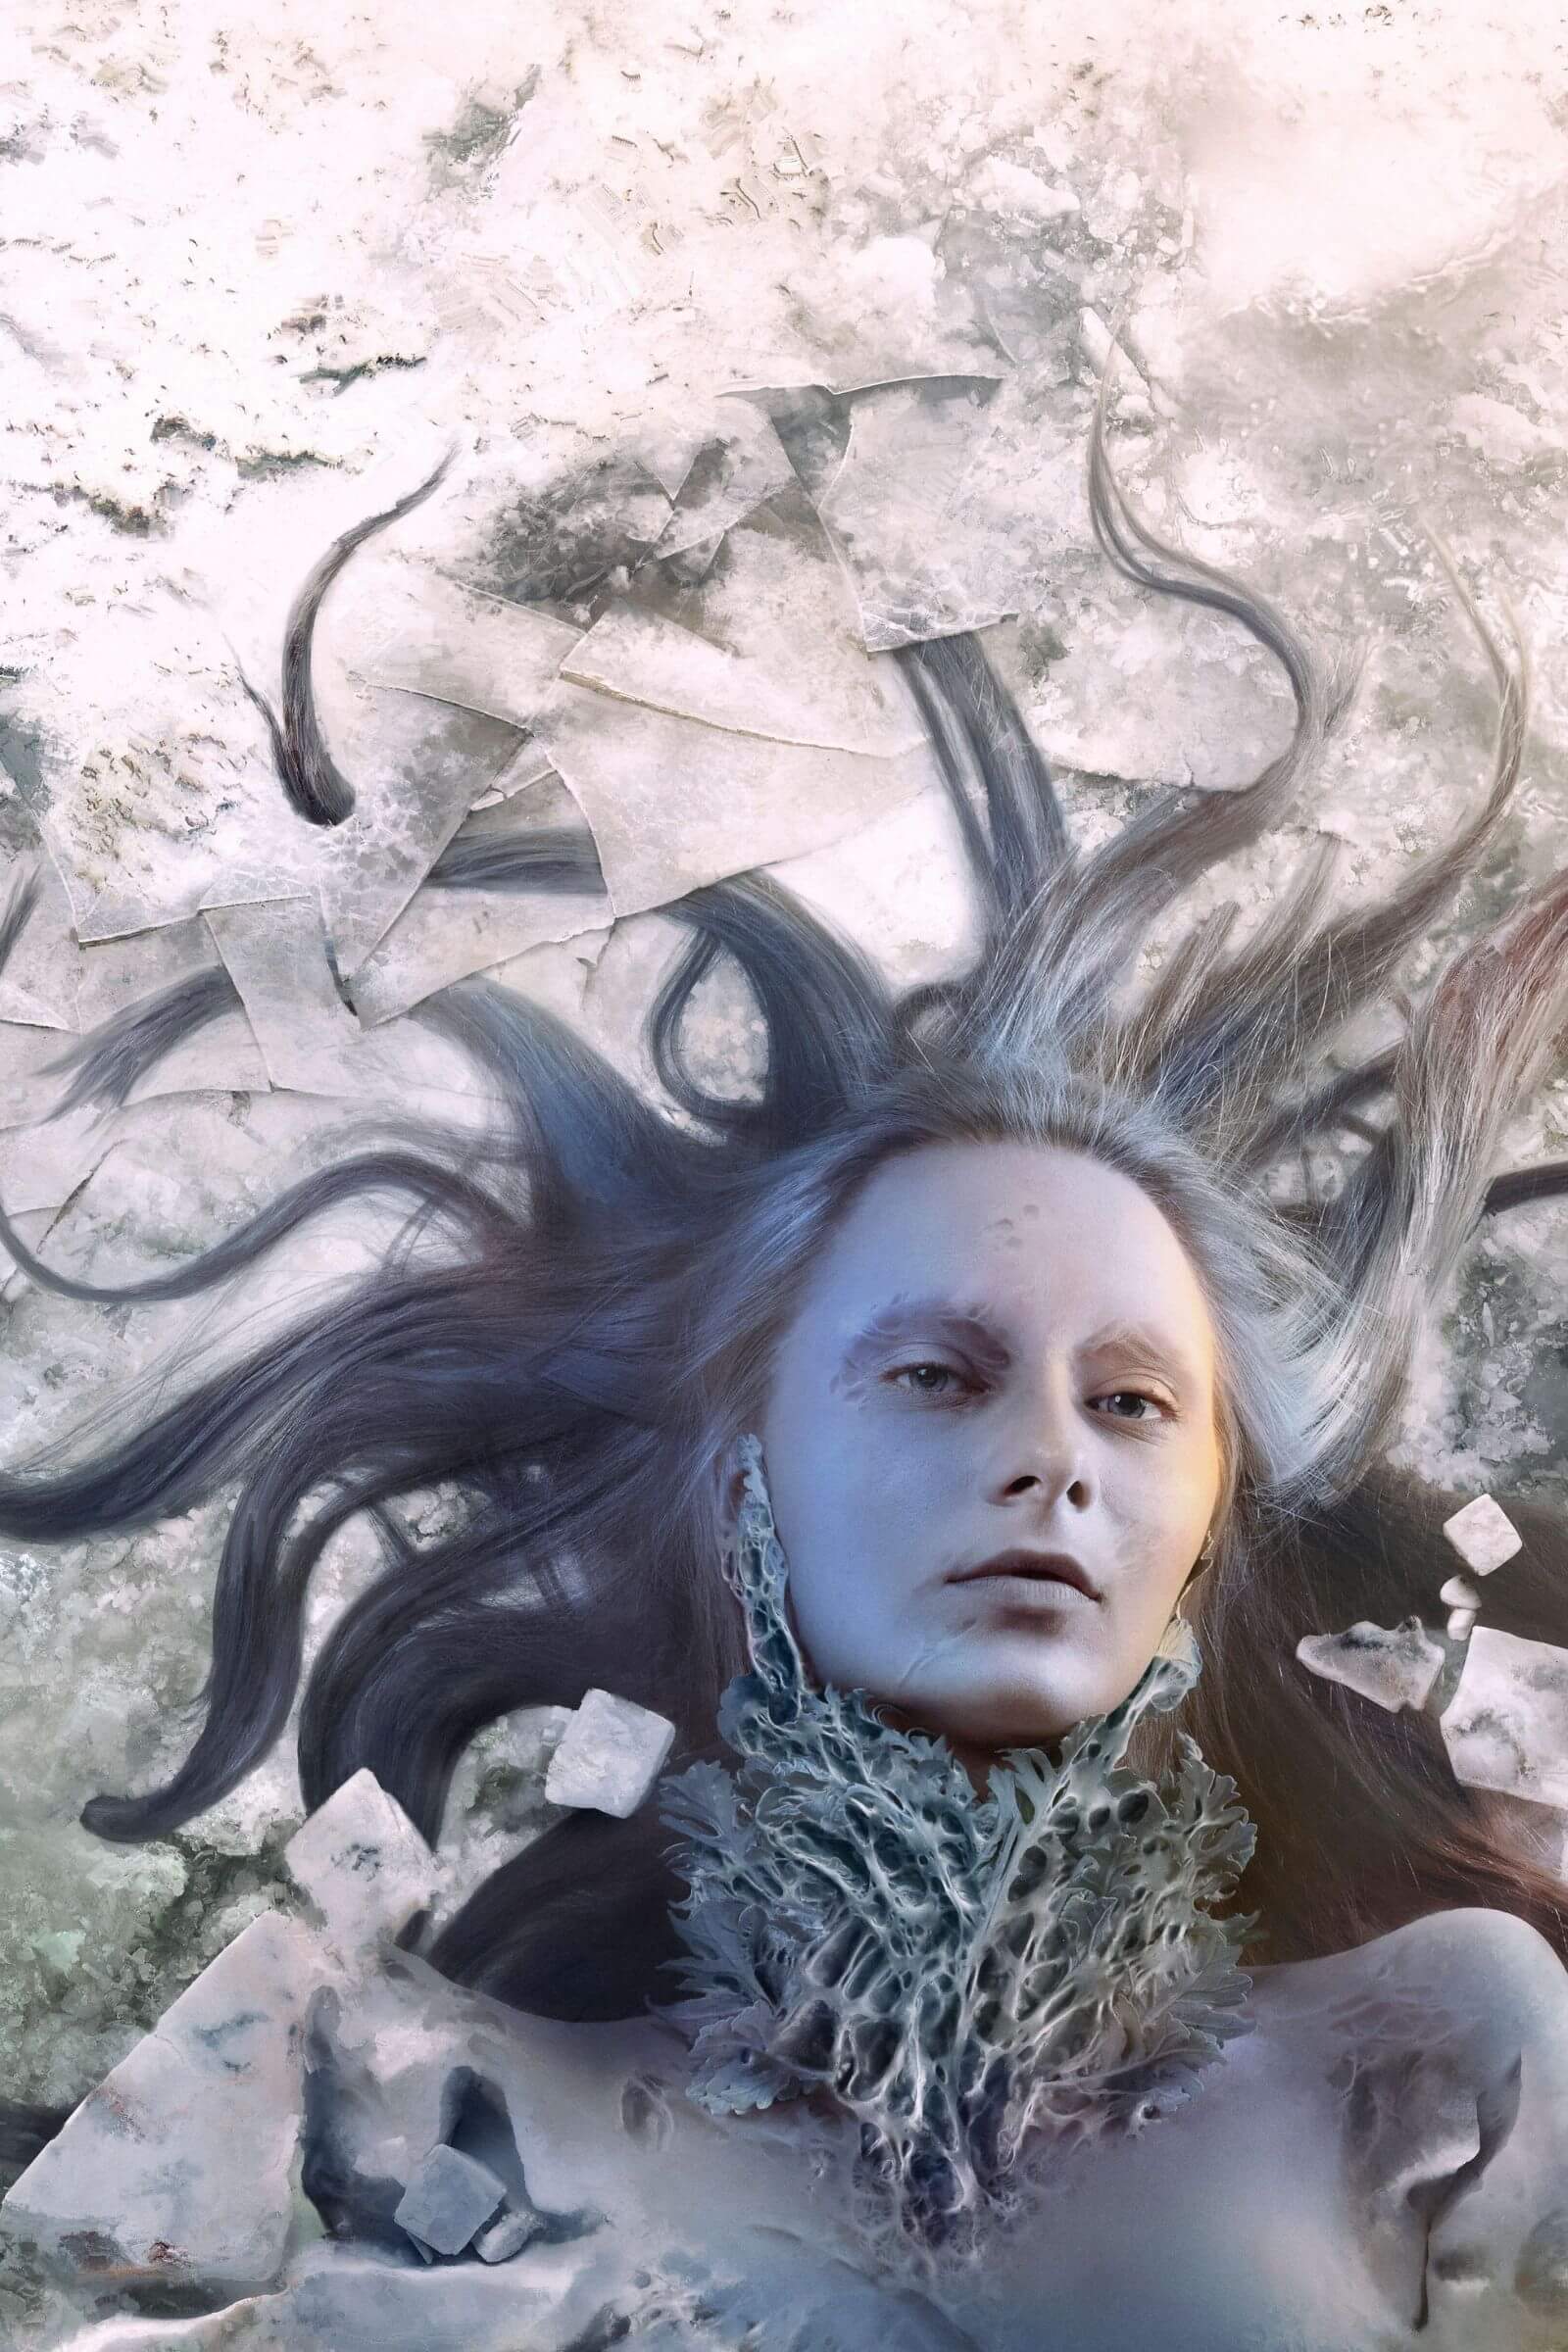
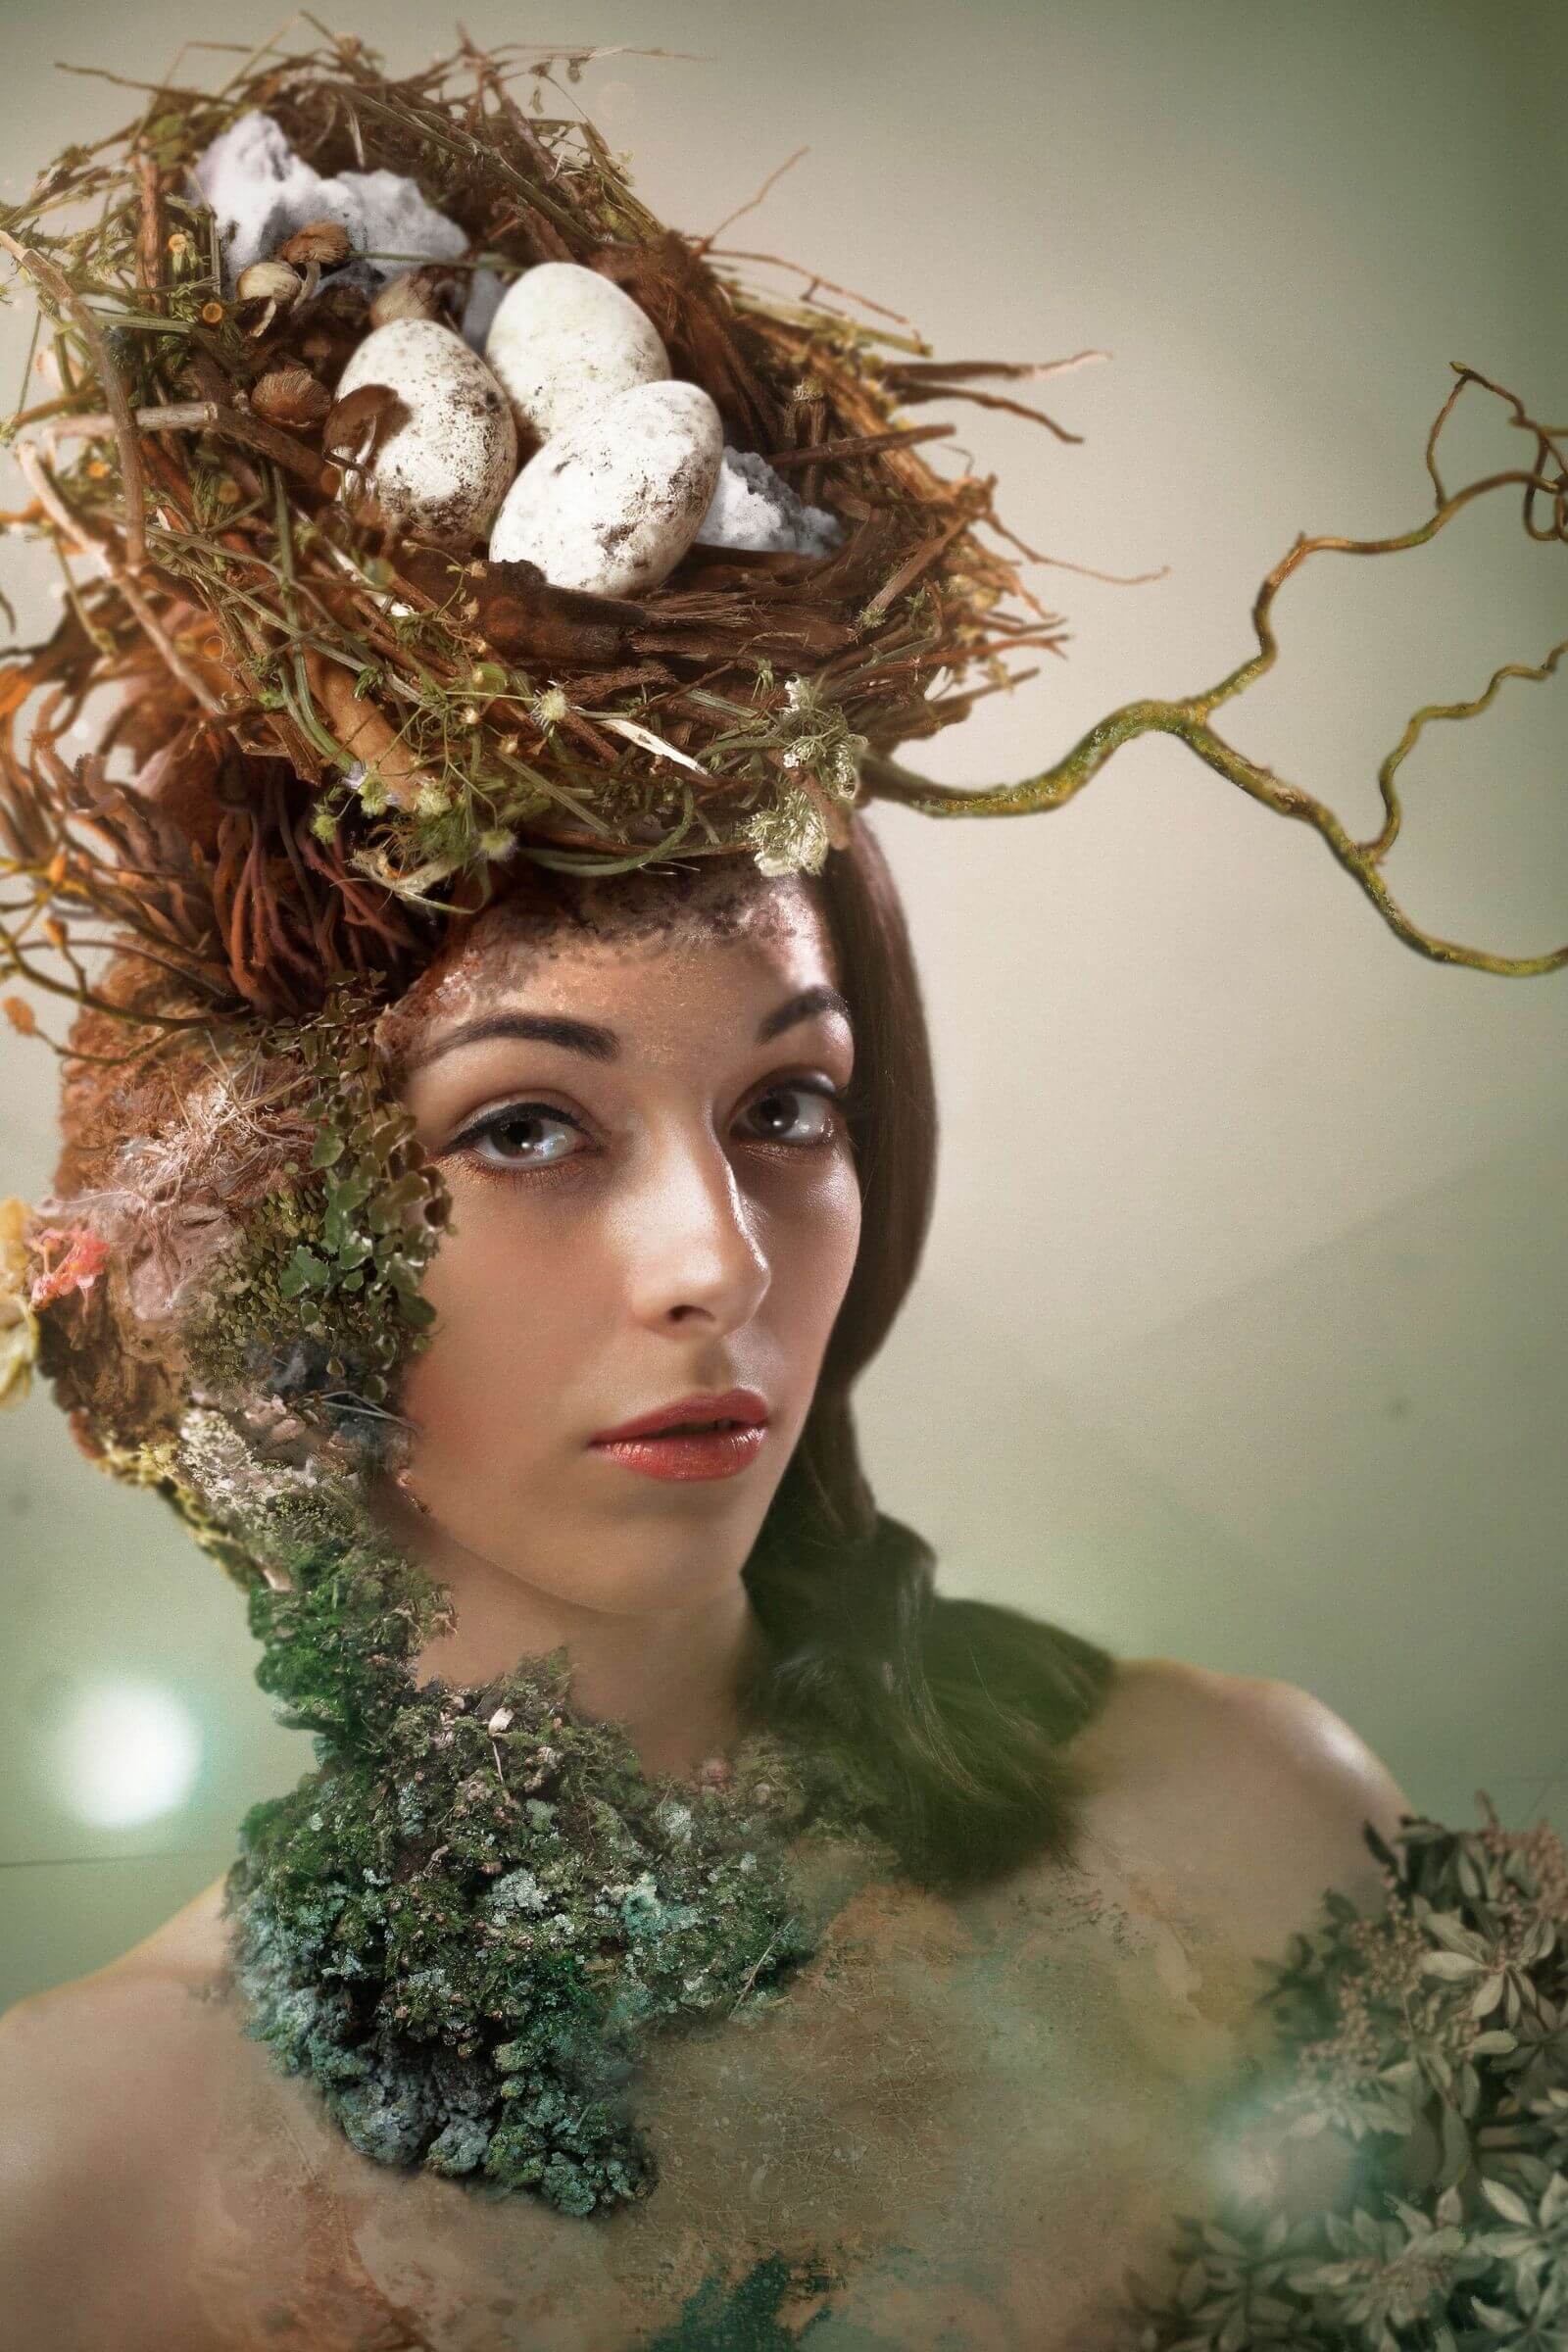
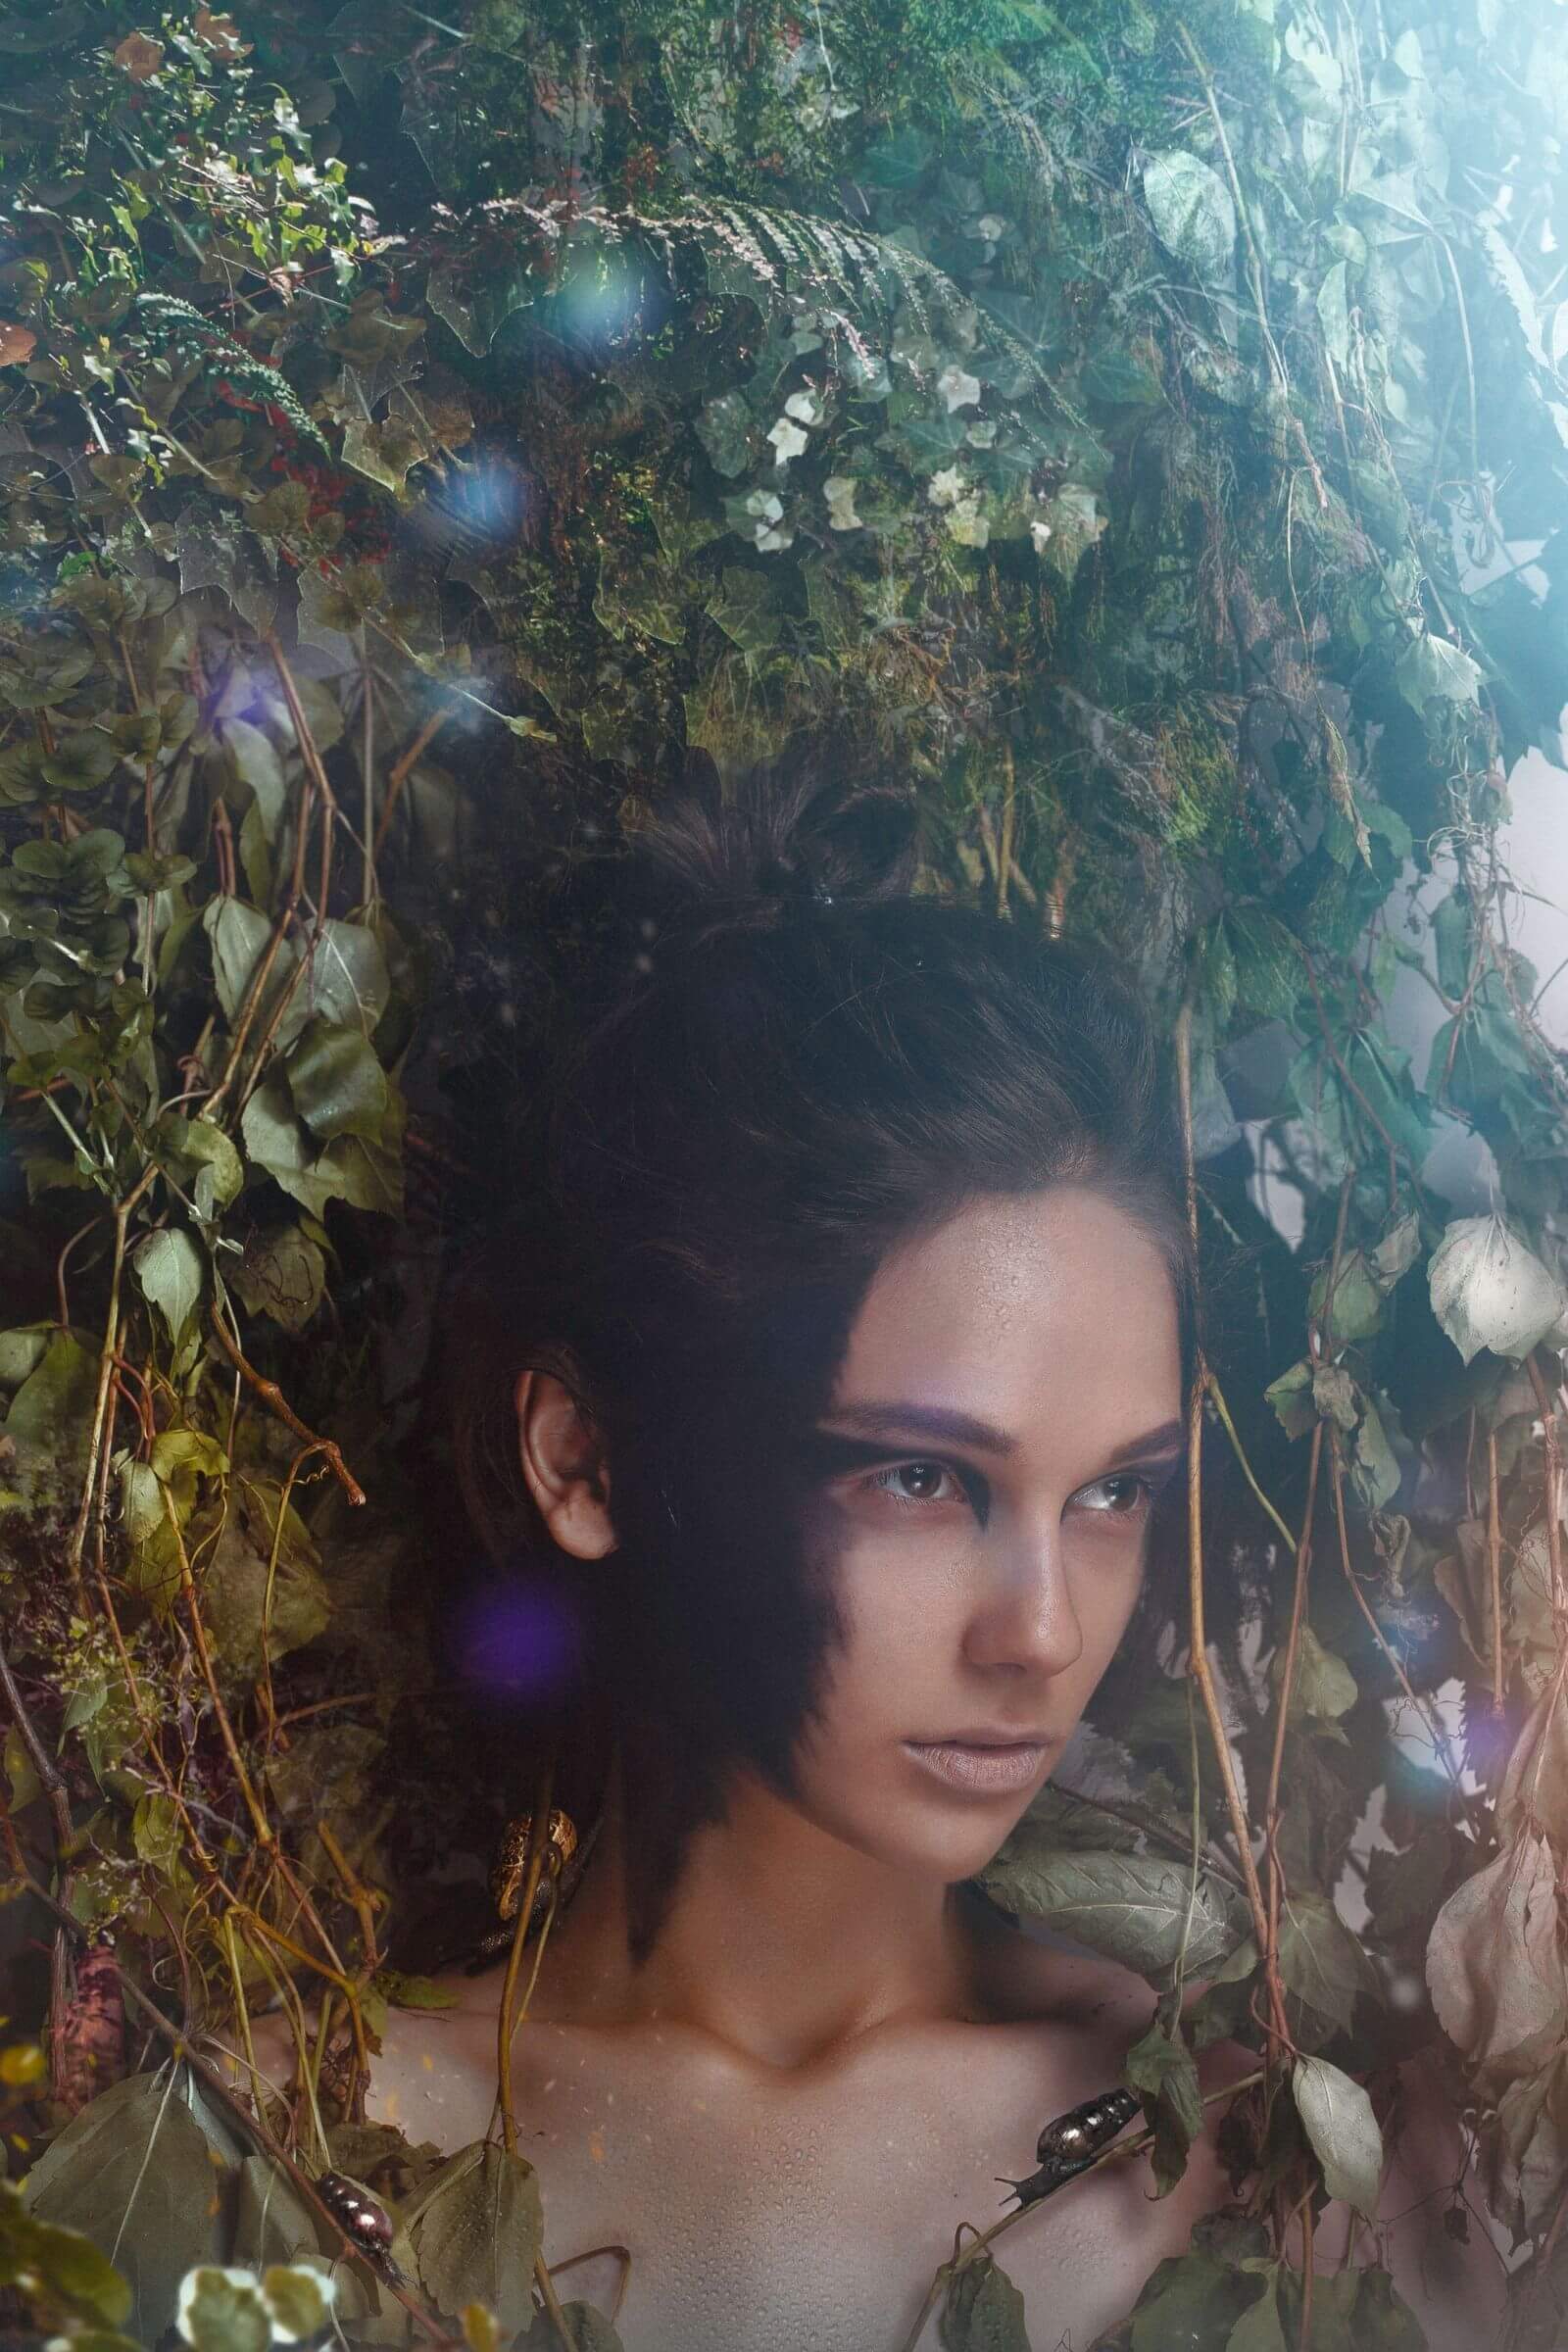
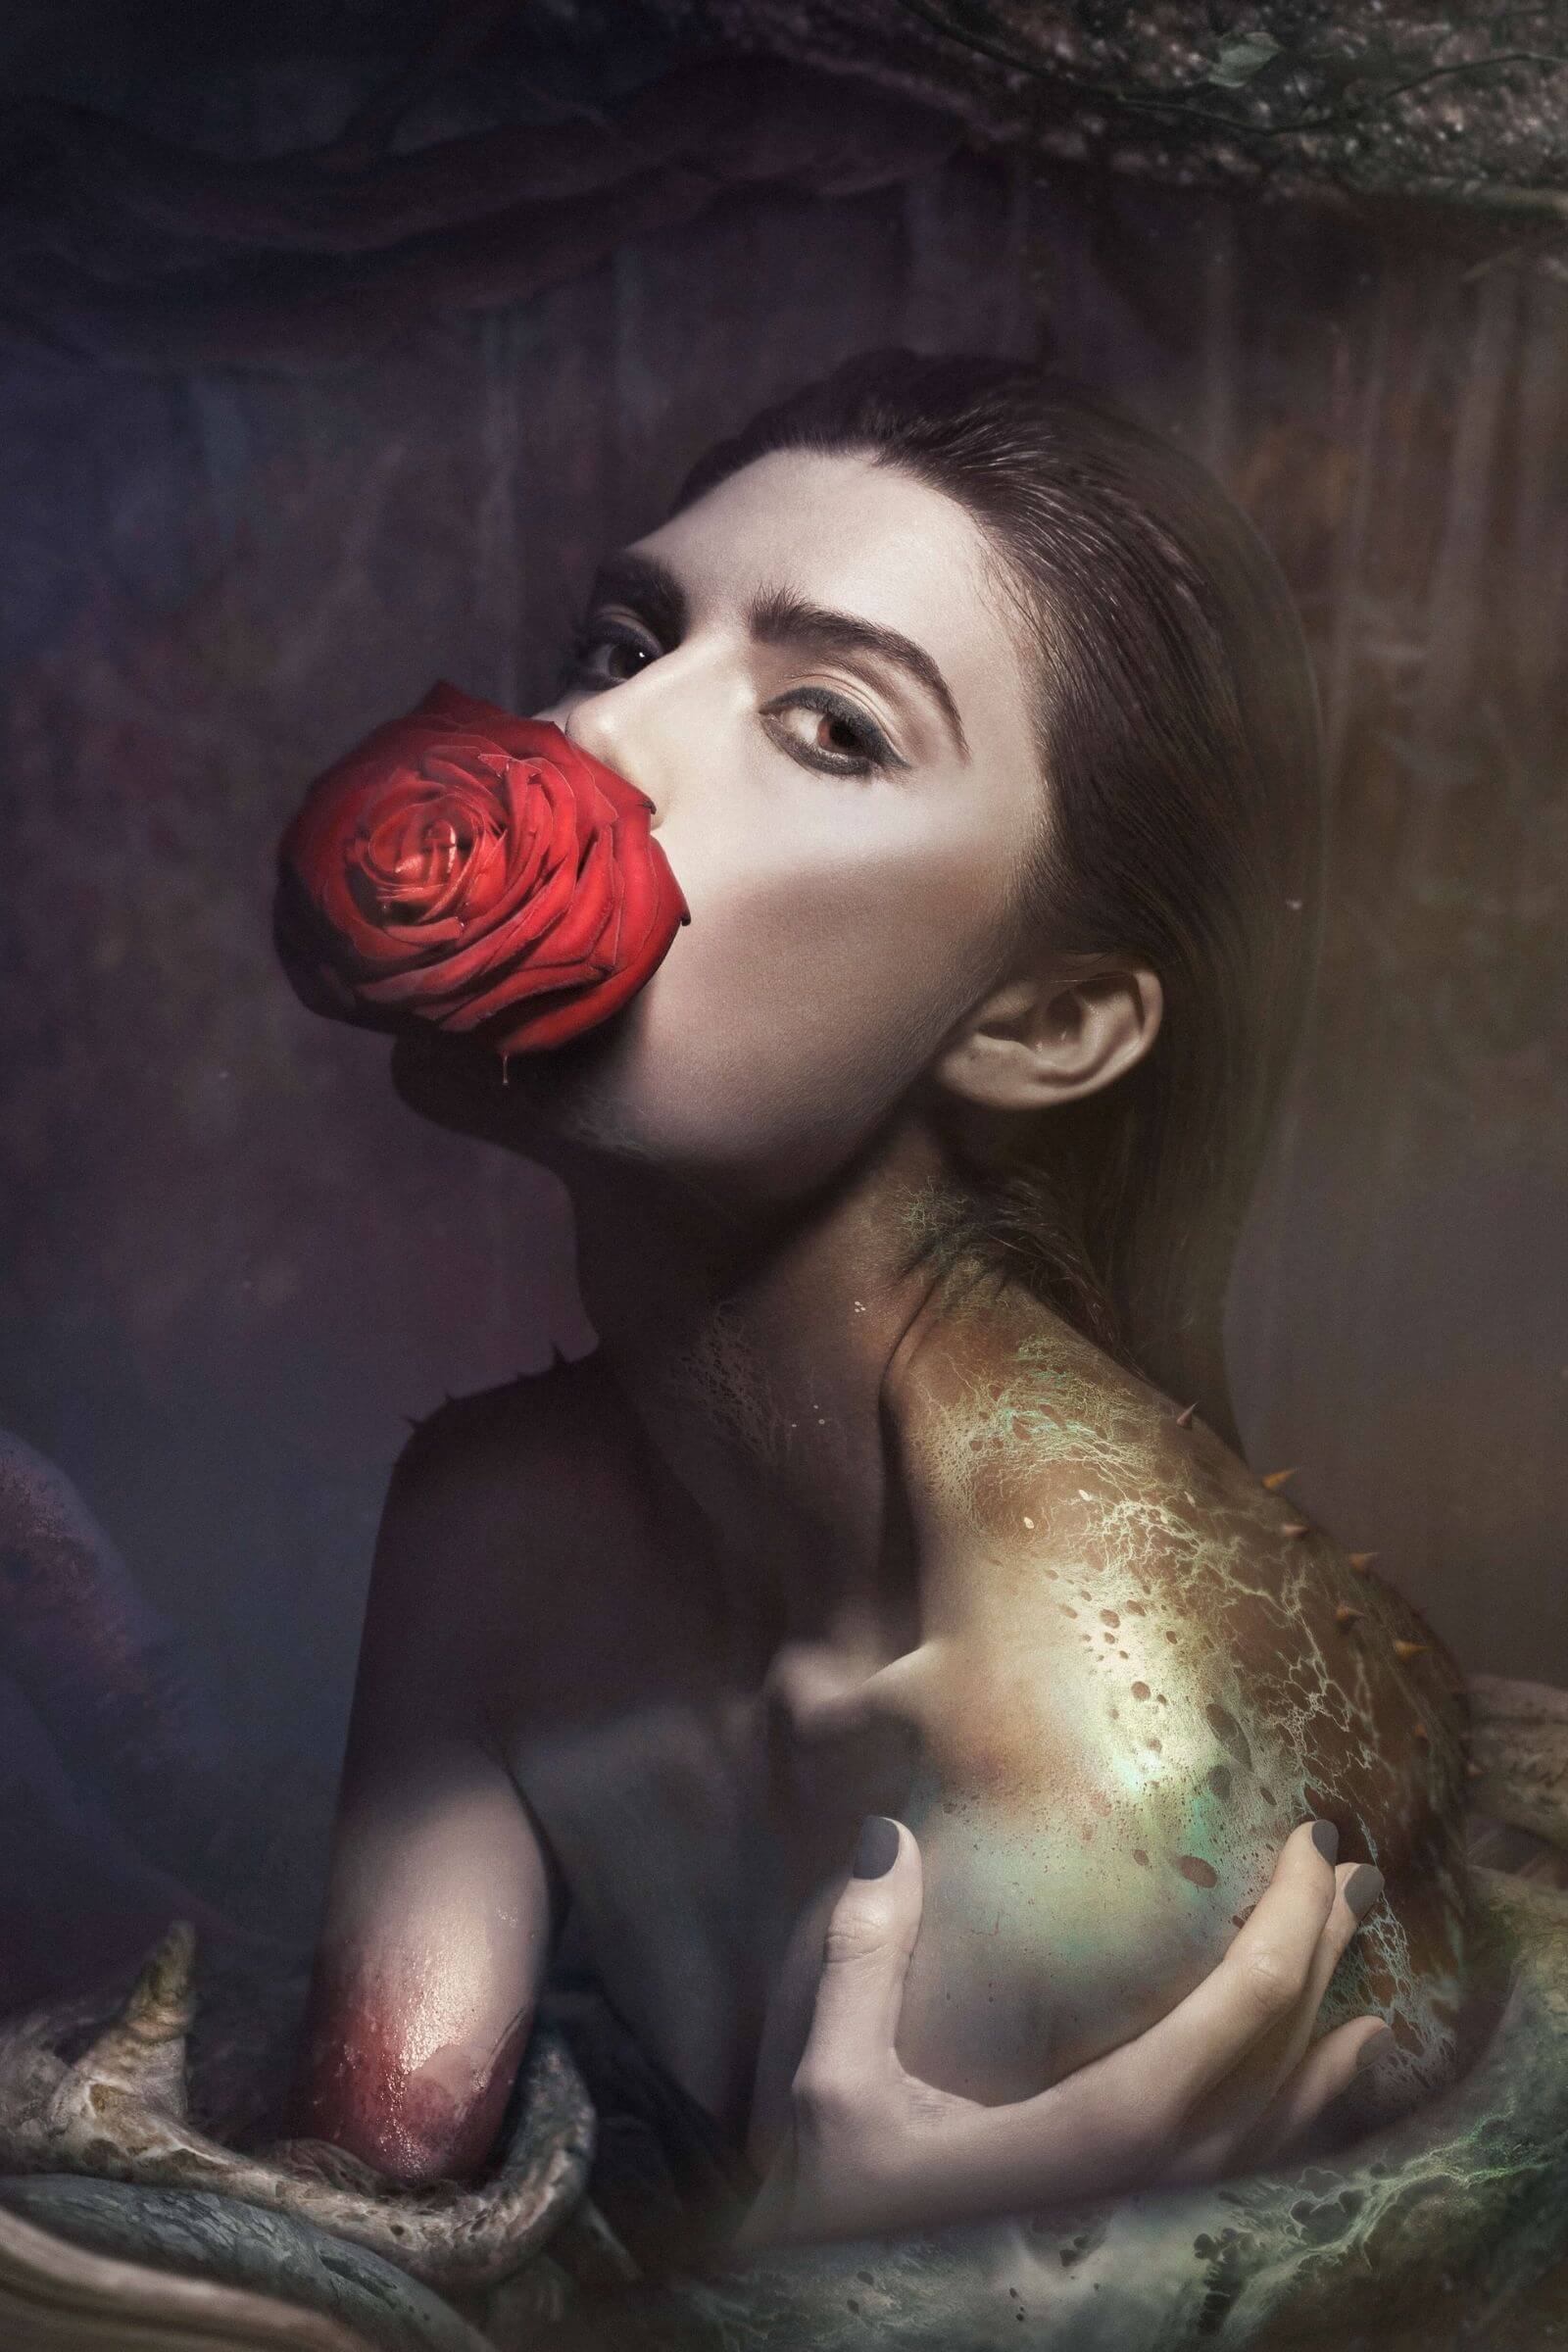
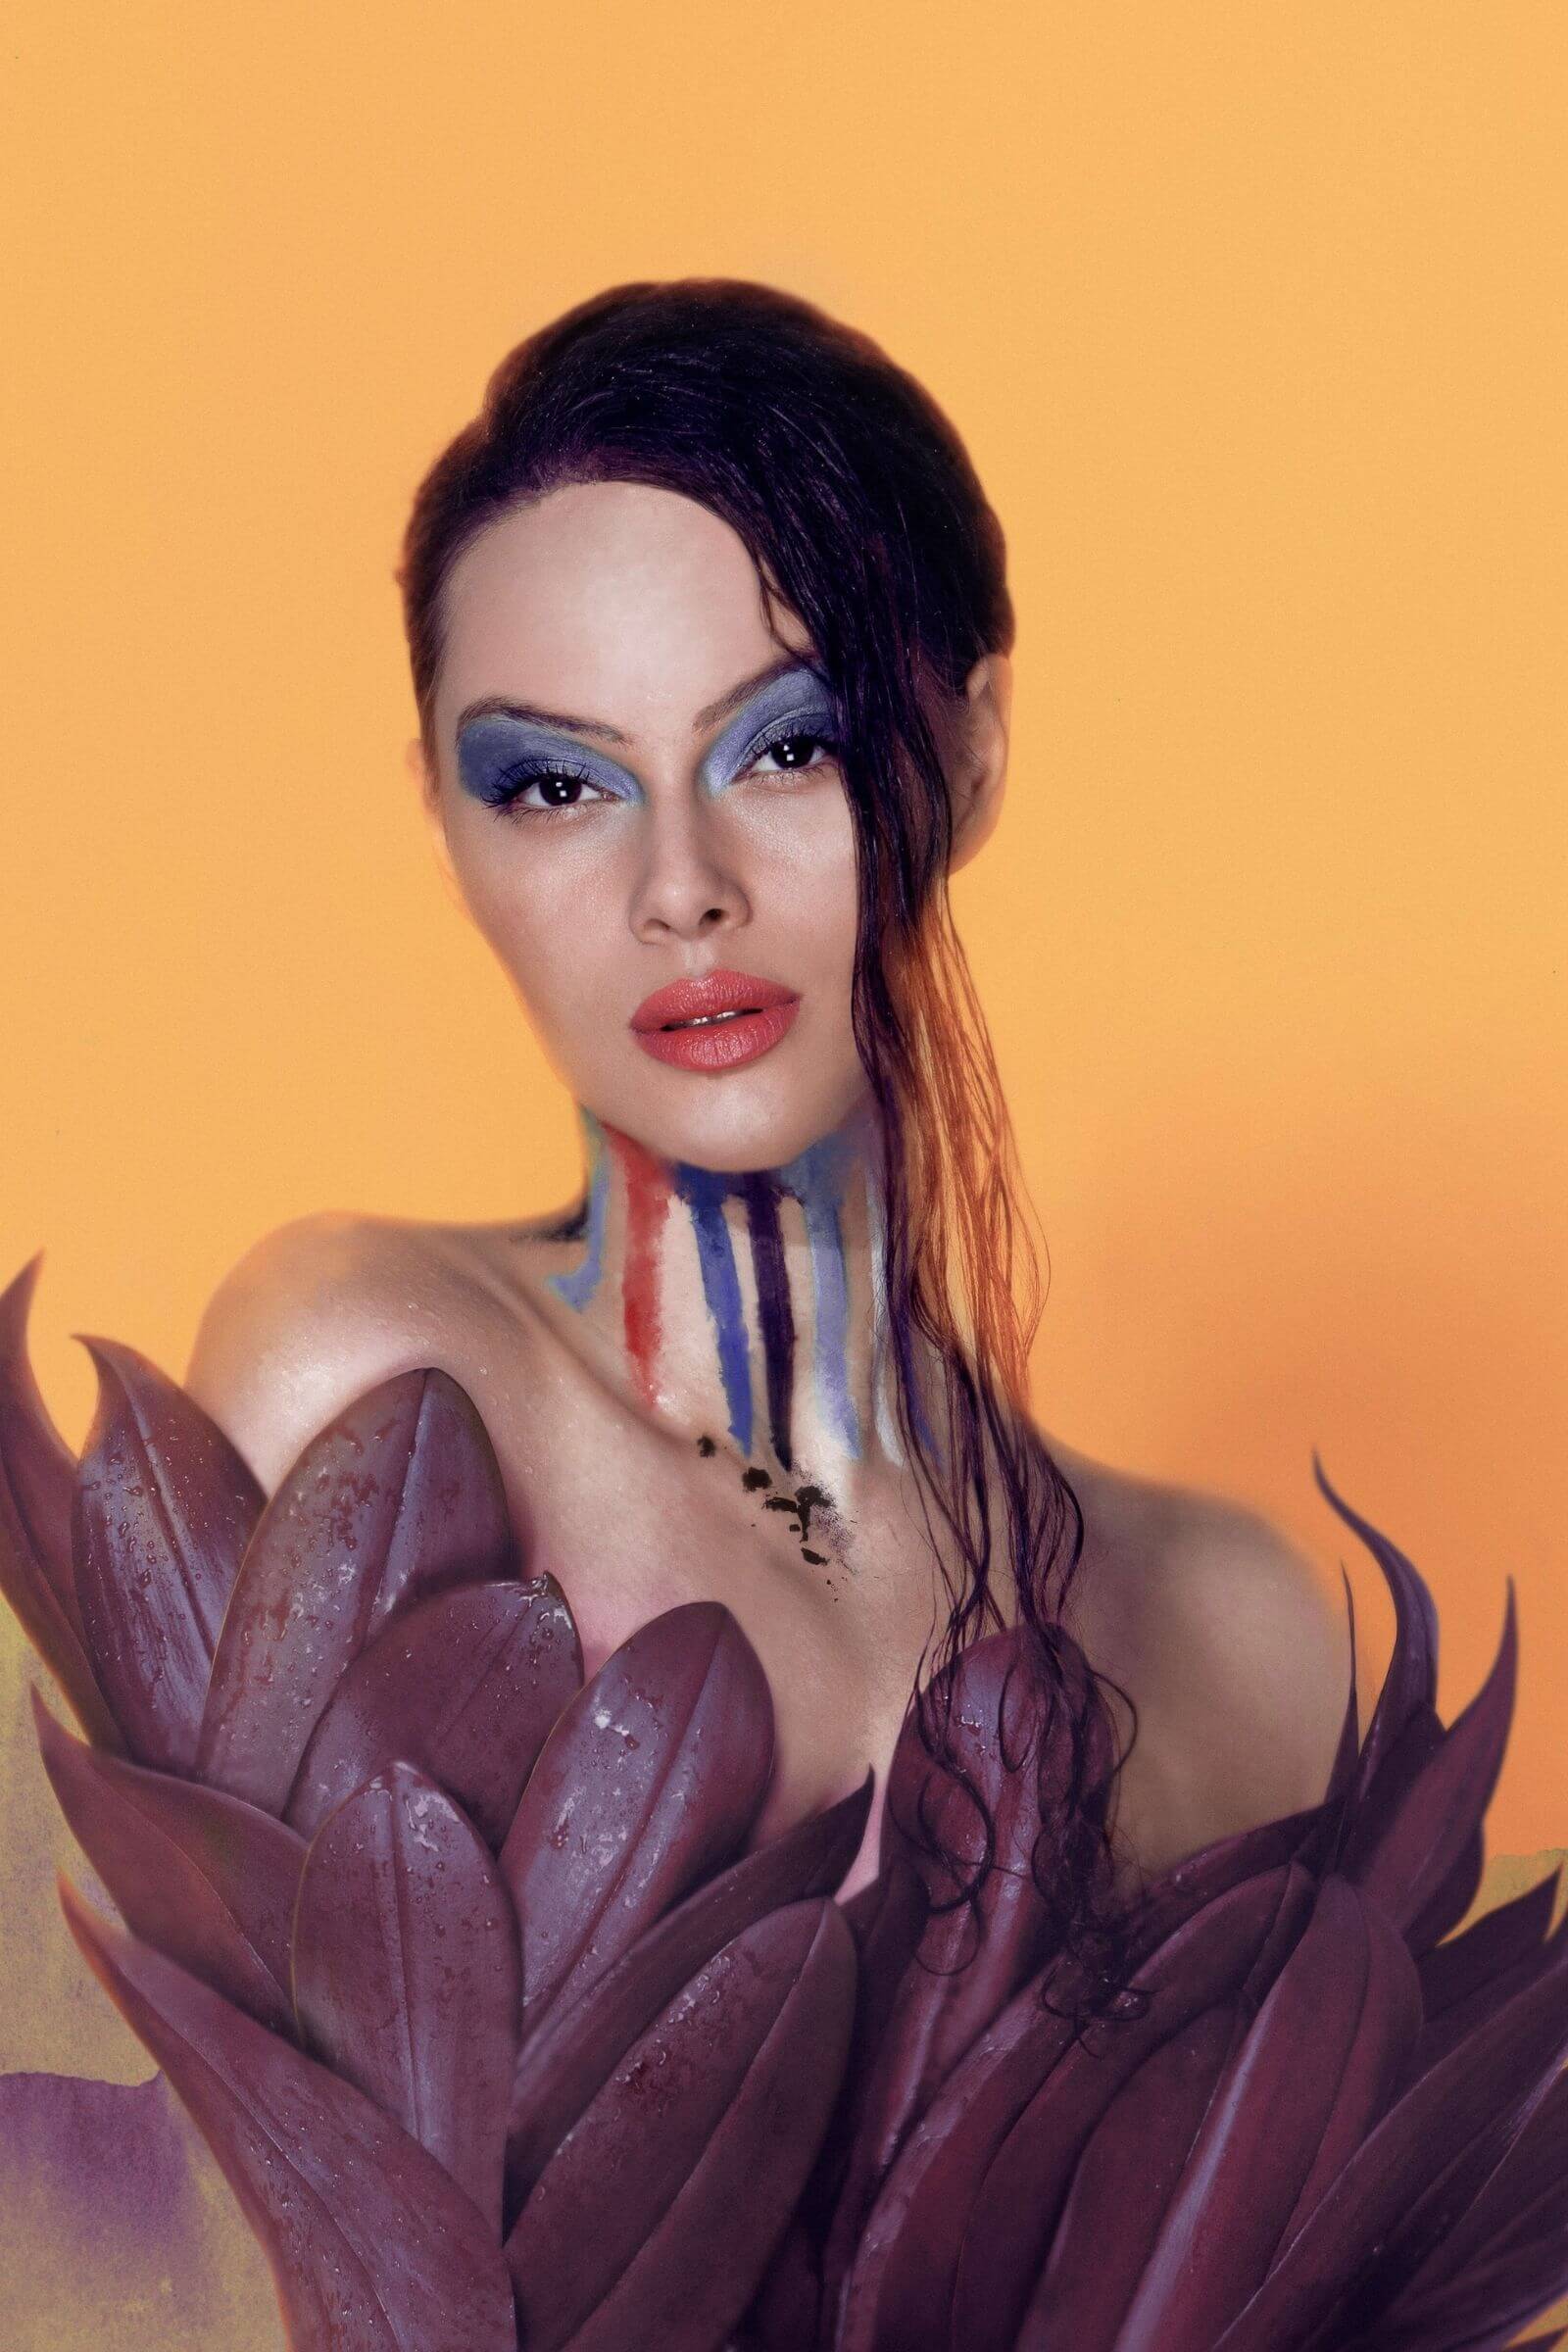
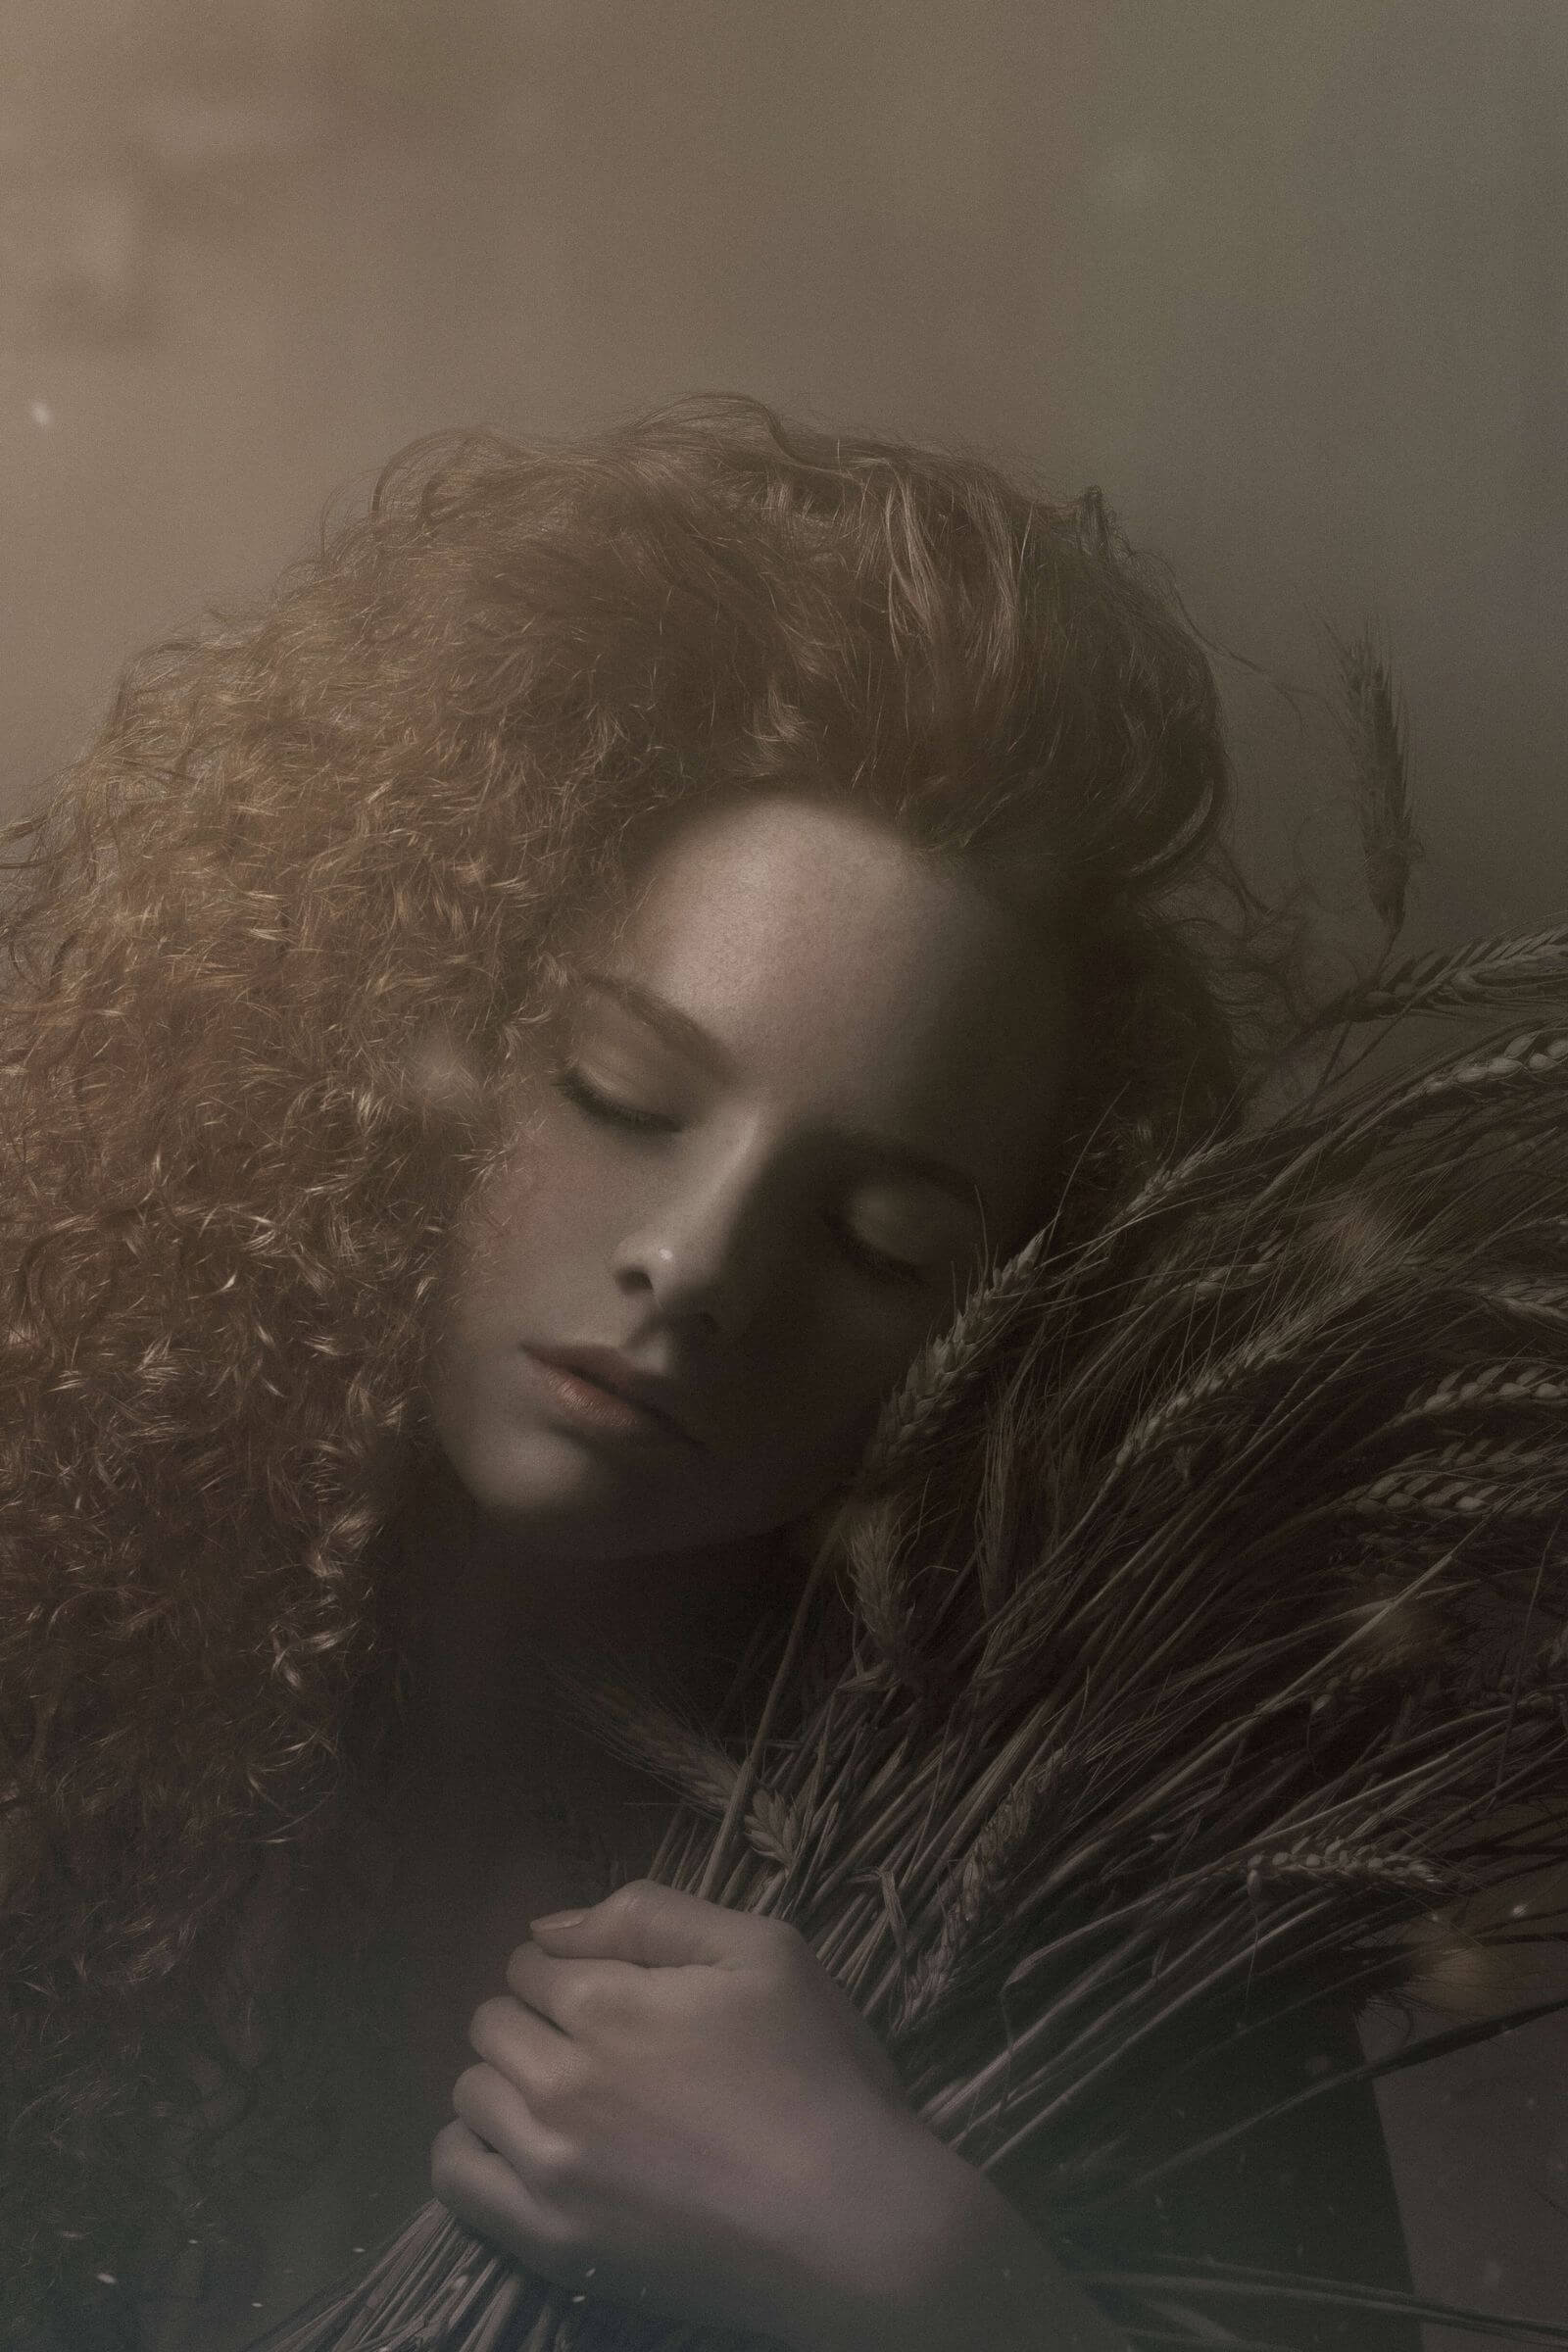
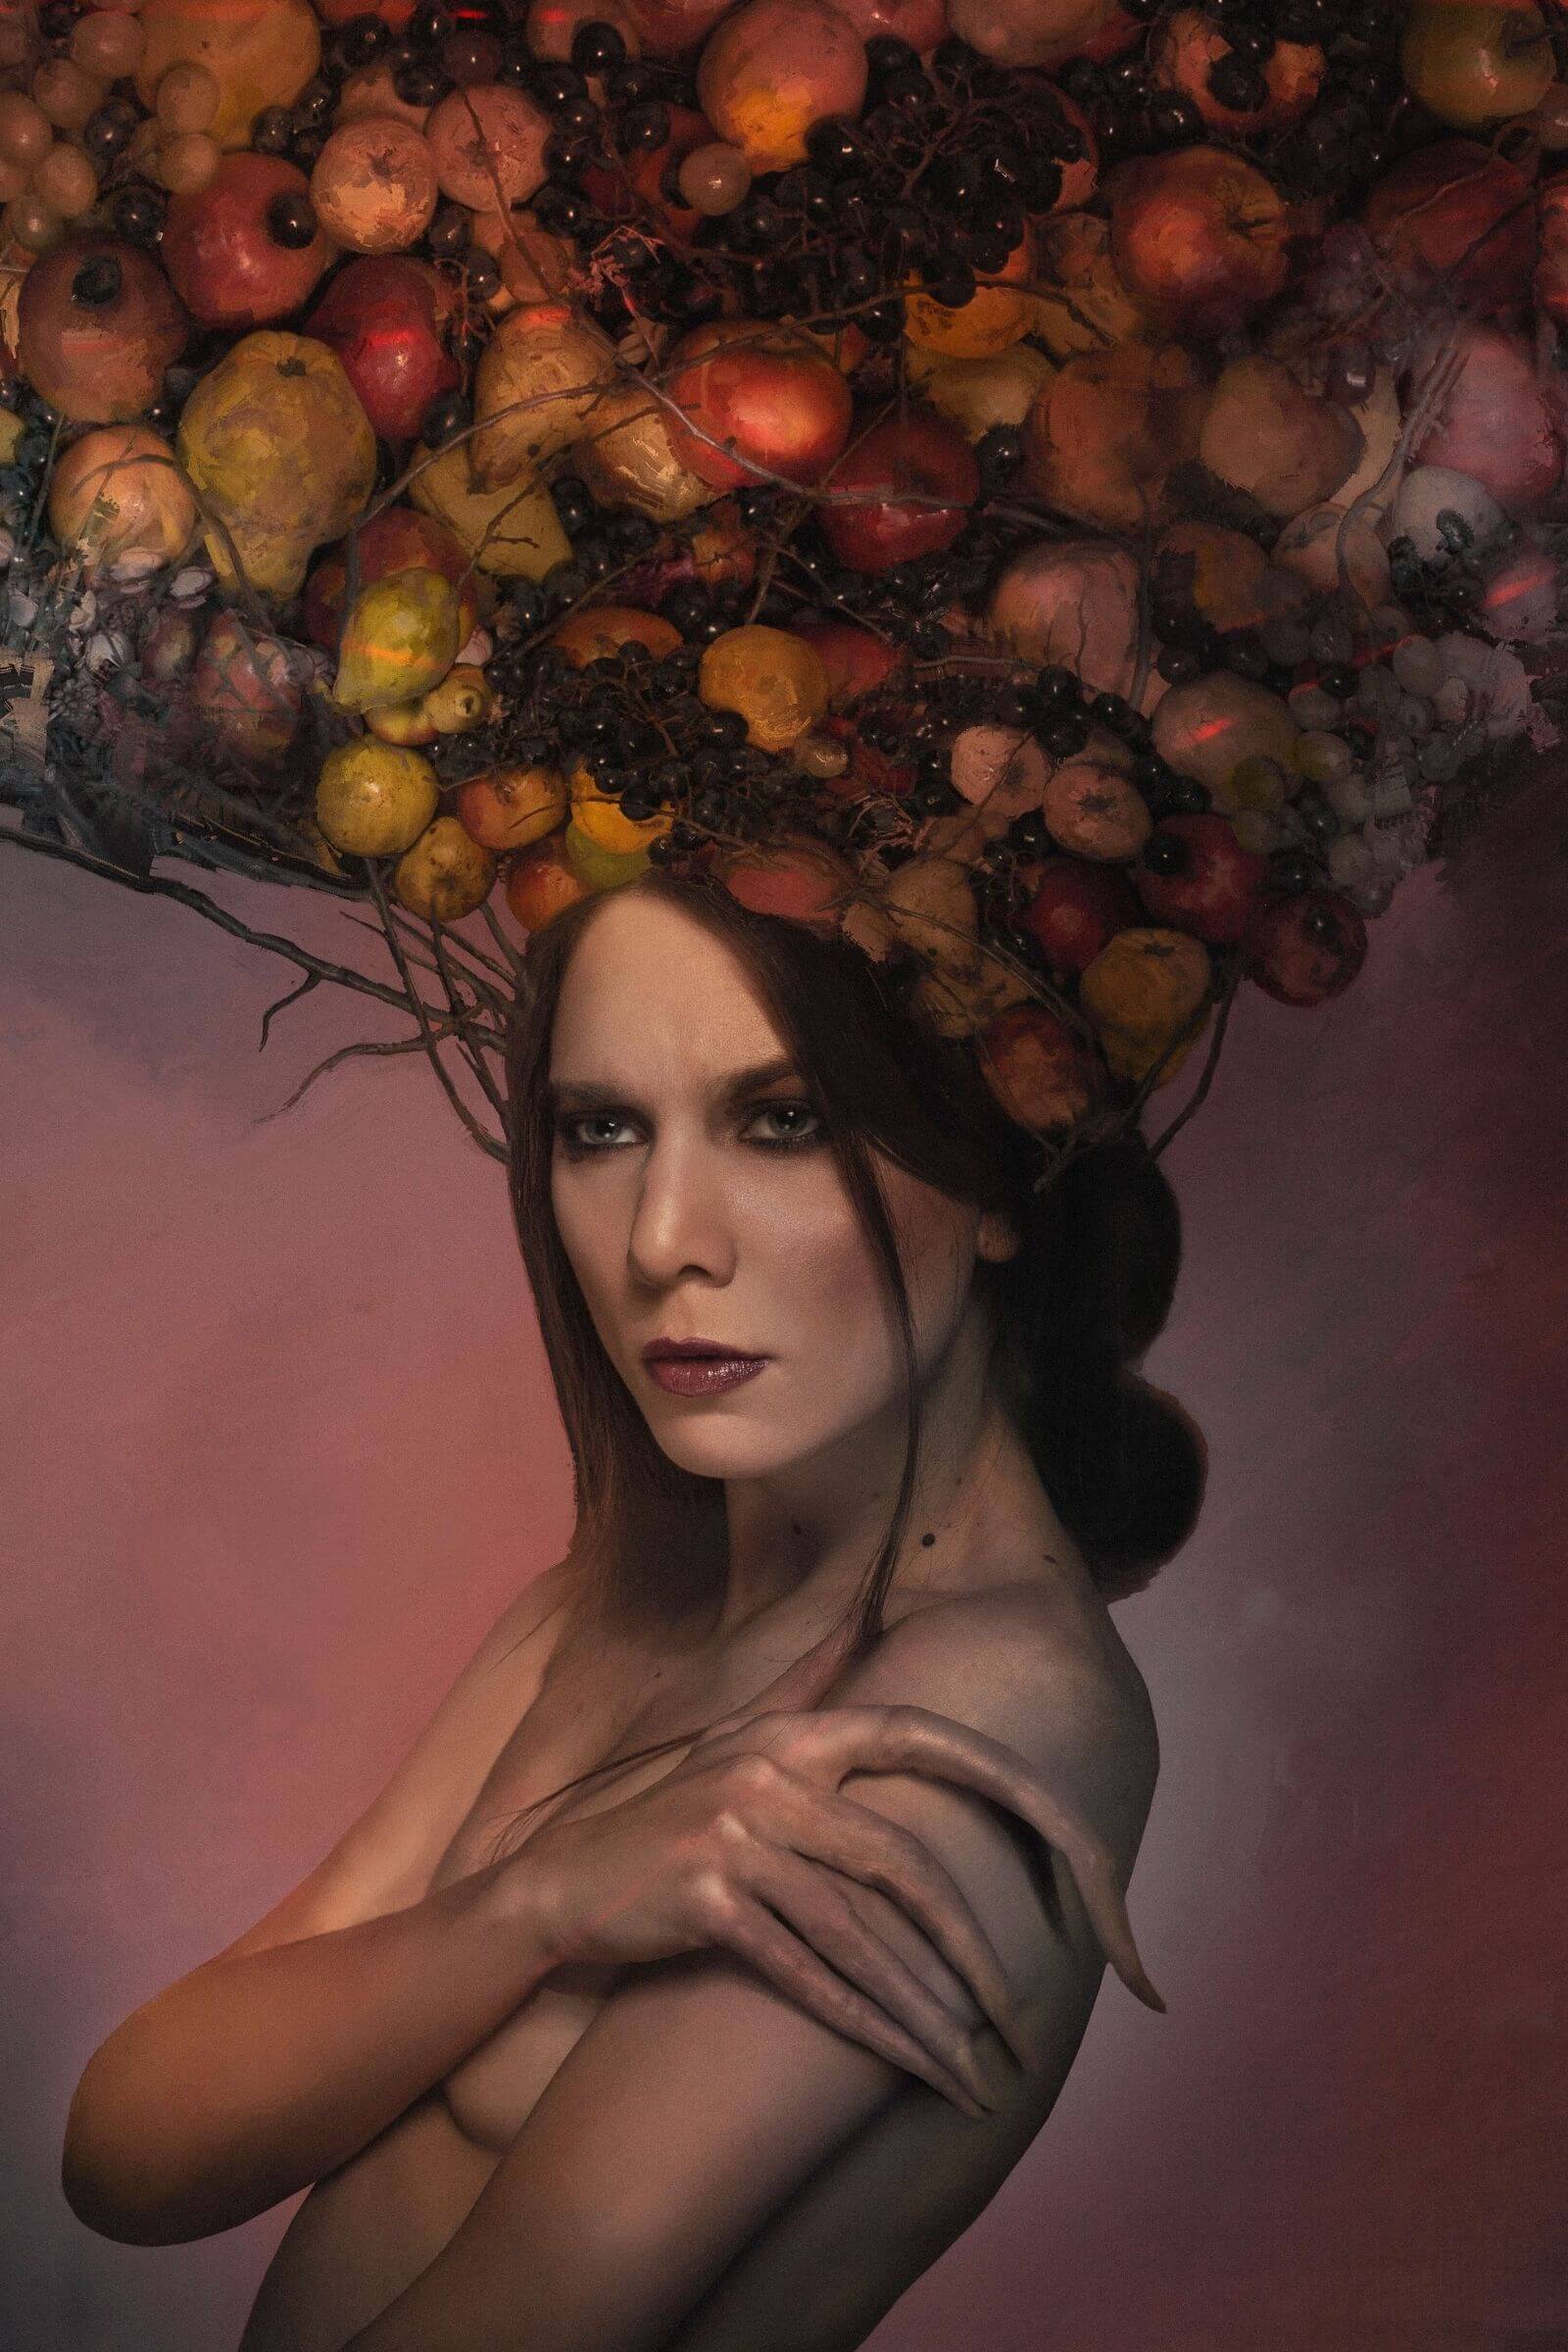
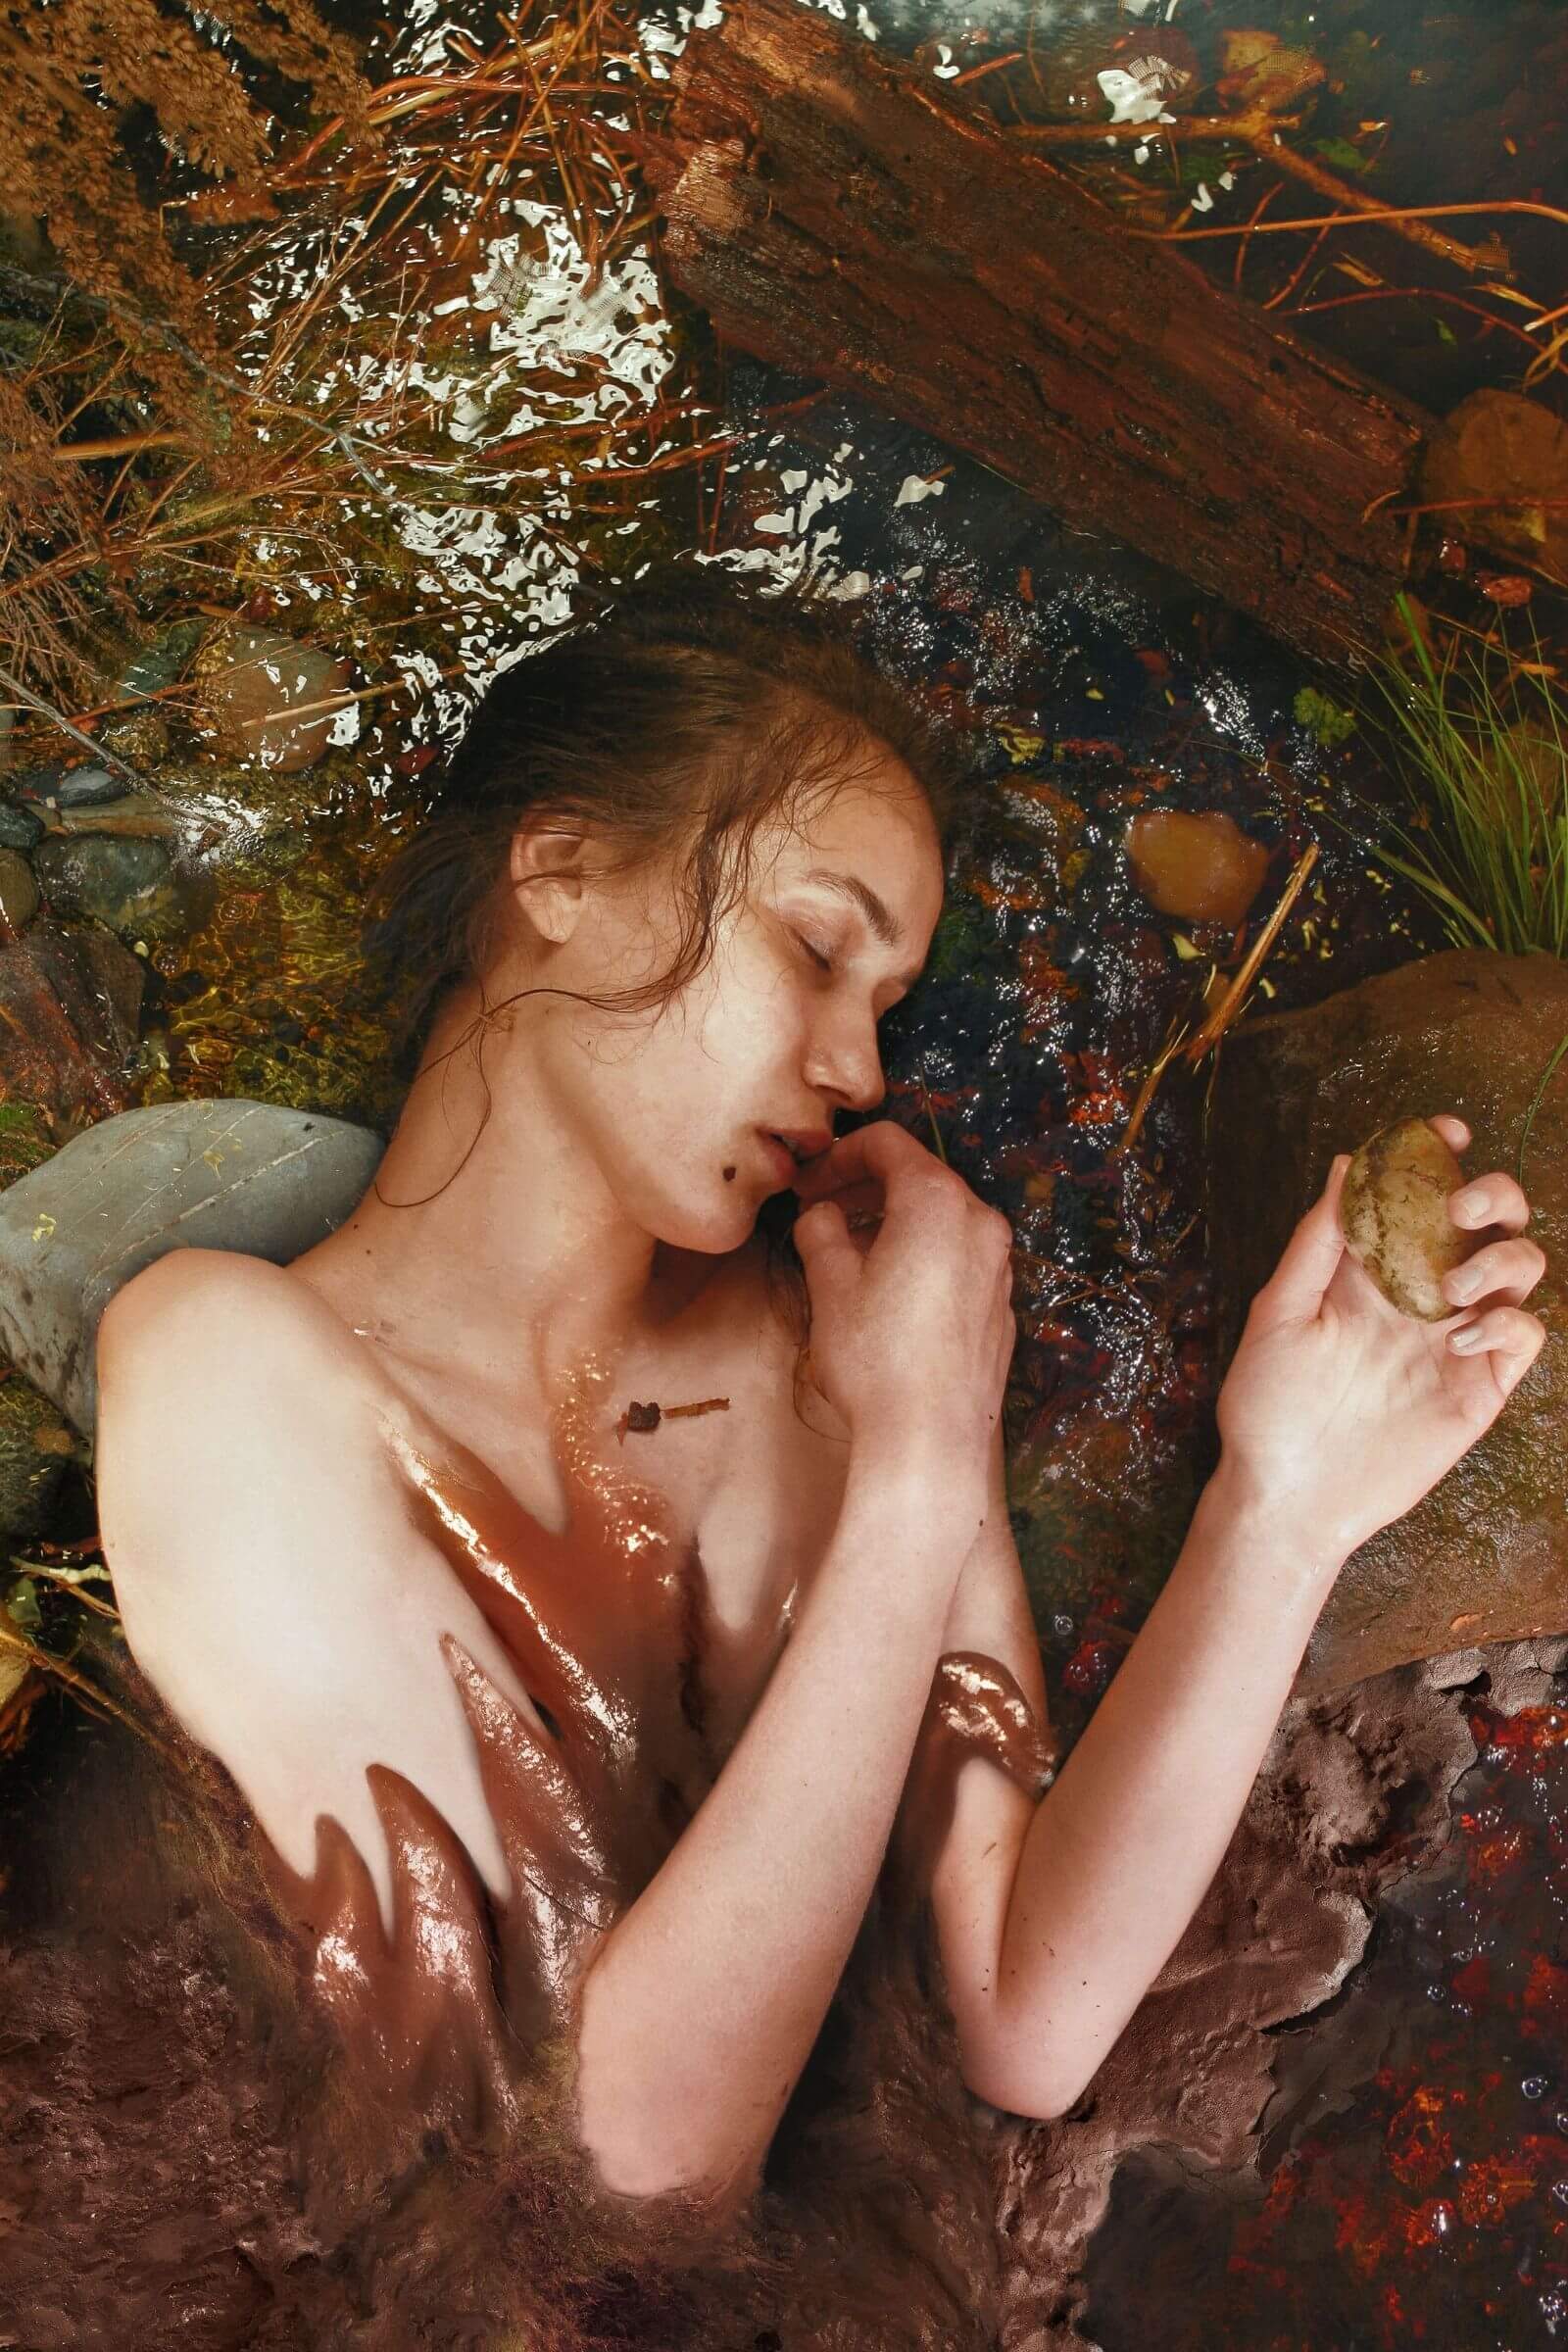
The project was born based on the idea of the profound relation between nature and humans, the continuous and vital connection between these two. By analyzing further the concept of “mother nature” we wanted to explore the female version of the human species, inspired by the biblical character of Eva - the beginning of all human race, the good and the bad, the ugliness and the beauty of the feminine perspective.
Flashbacks of origins. This means an intrusion to the origins of humans submitted in a form of a flashback by browsing the calendar.
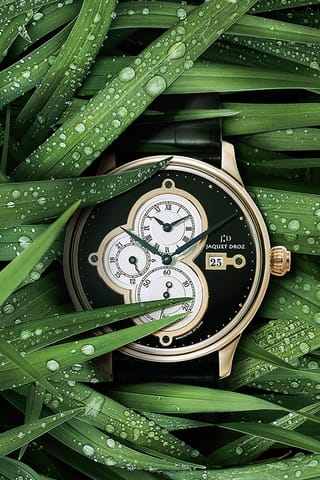
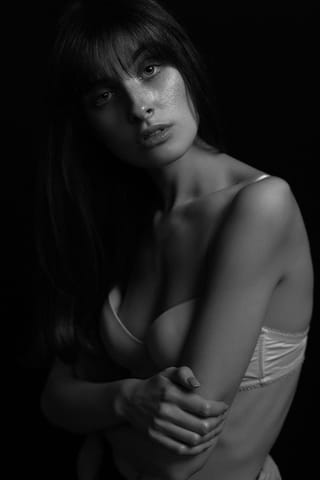
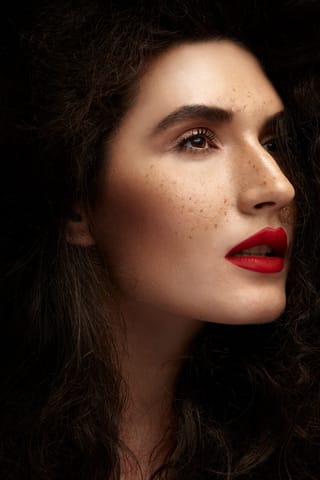
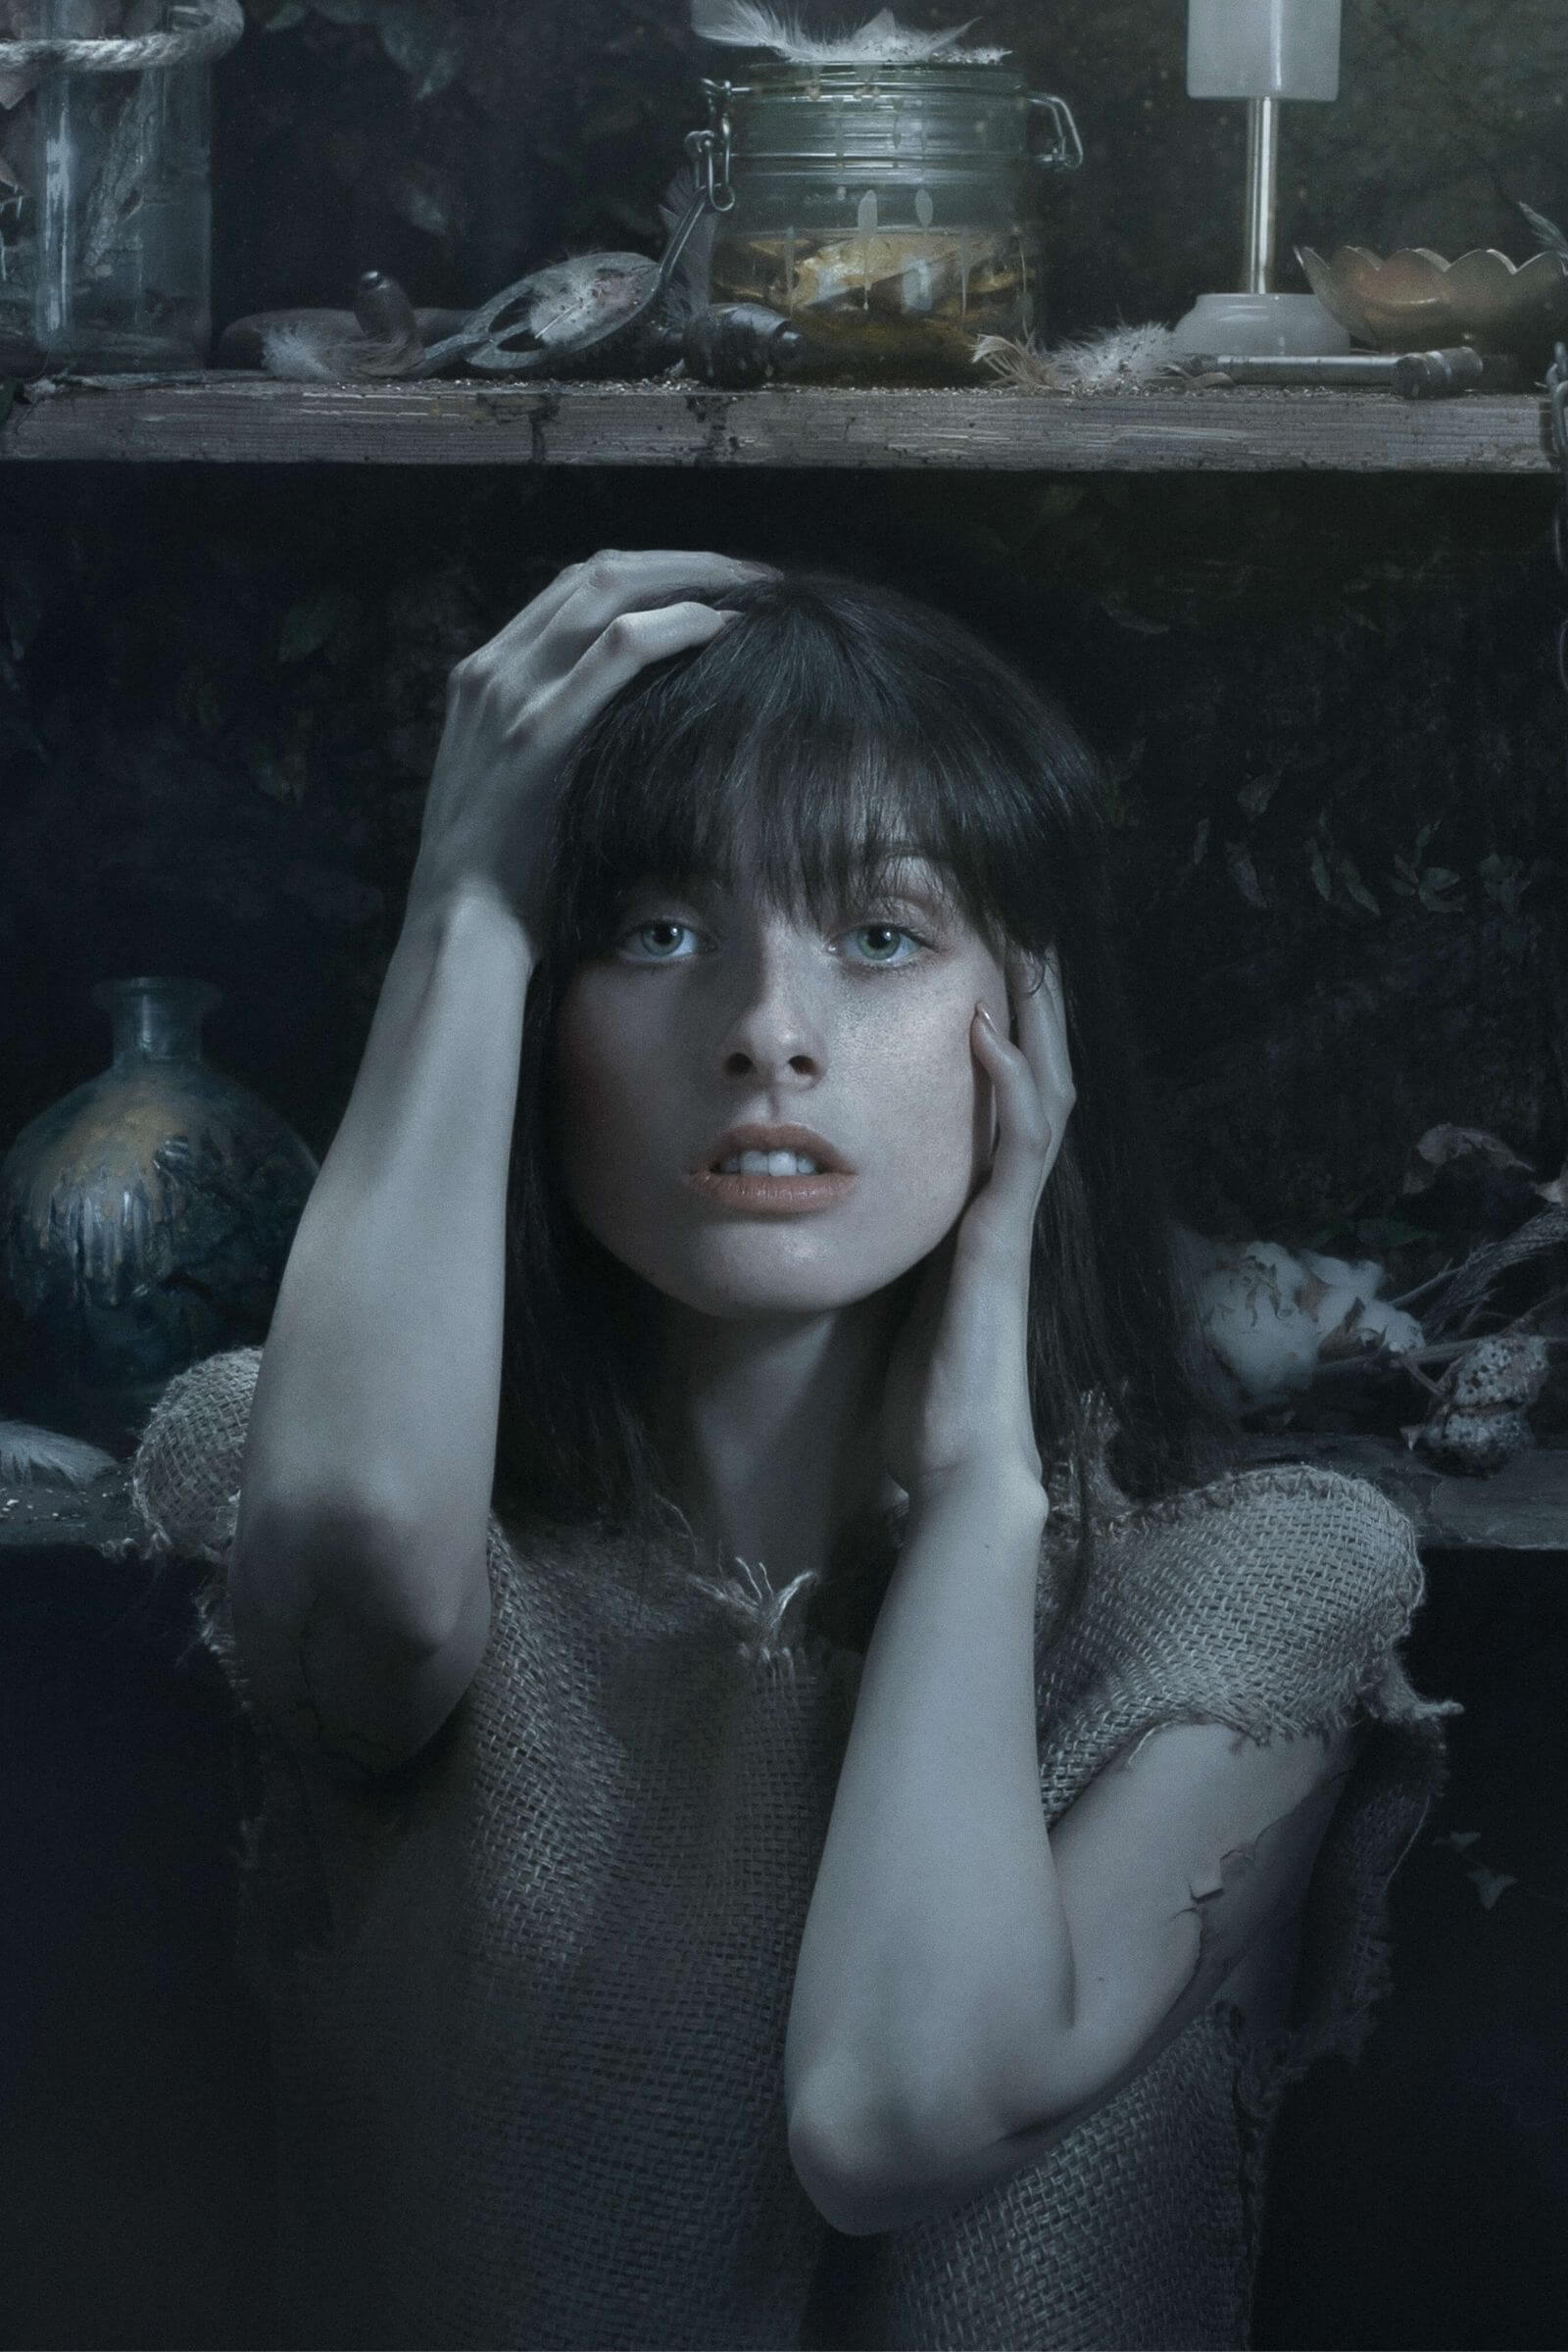
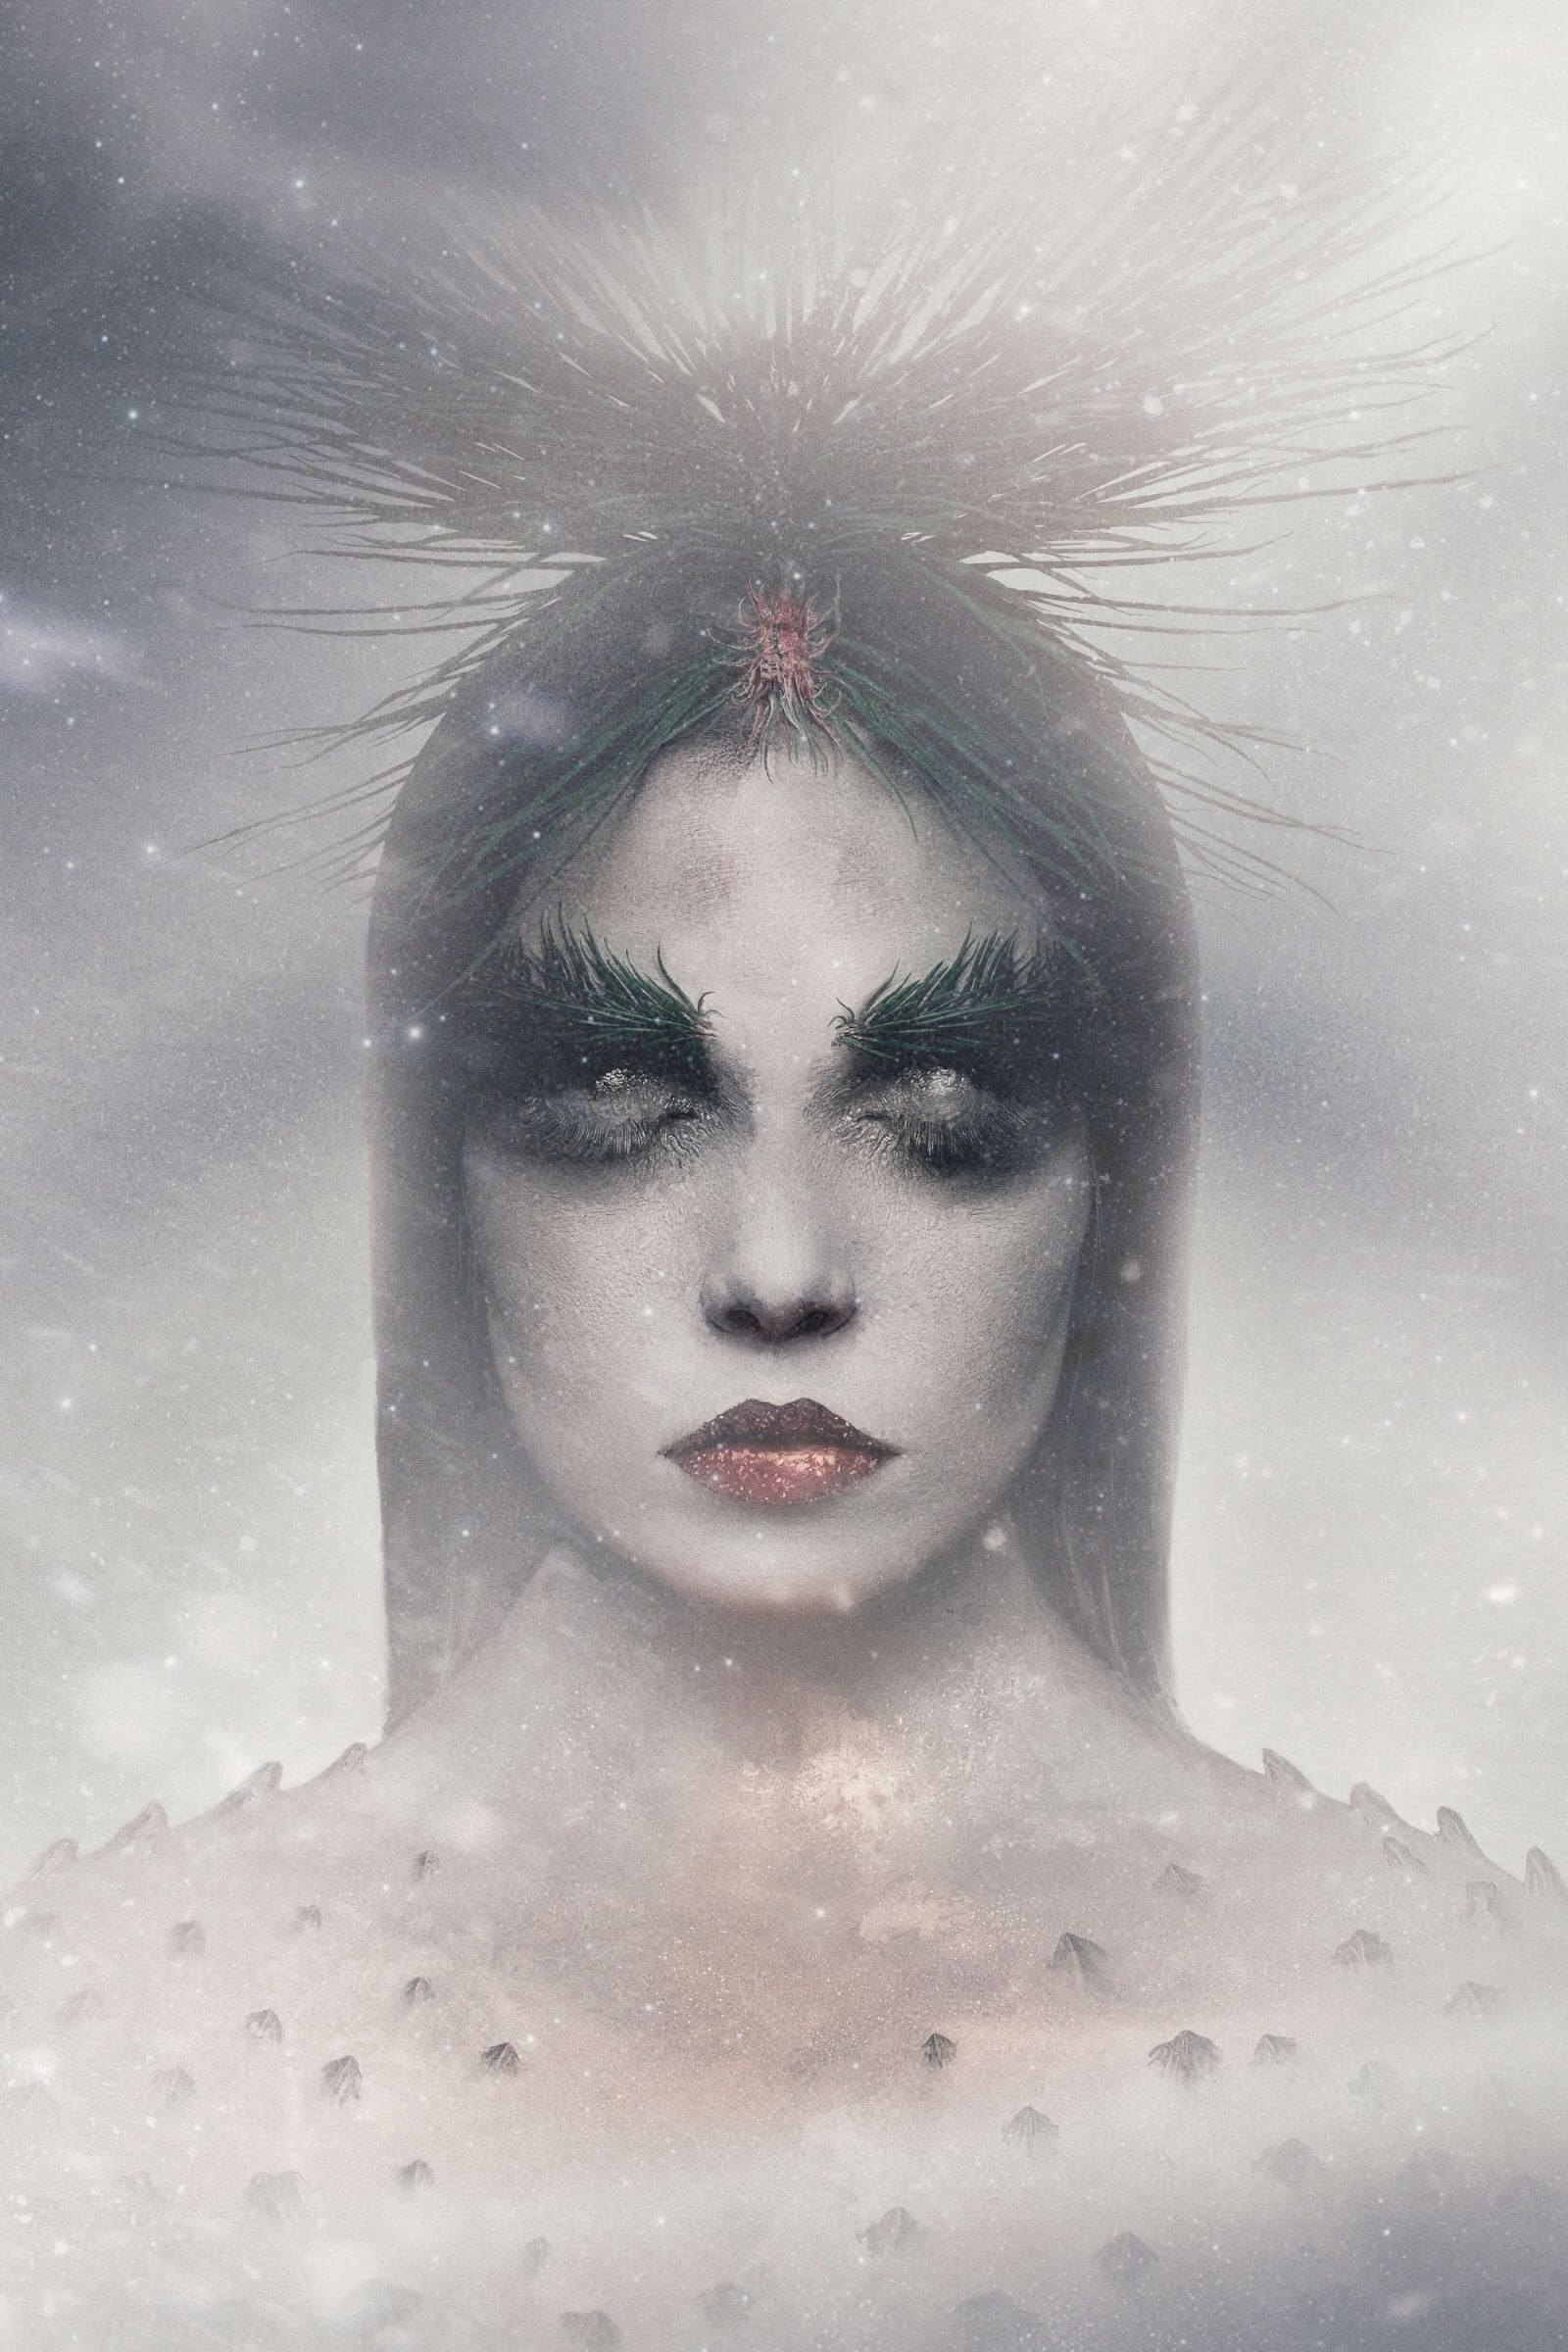
We chose to be versatile and original. That’s why for each month of the year we used a different character and a different type of plant to reproduce the atmosphere and spirit of the seasons. We analyzed color palettes and decided to give it a slow-changing paste of color within each picture we took. Also, the models were shot from the shoulders up to inspire the idea of nudity. The main focus of our team went to the story side of the project. That’s why we needed to put our best skills into practice. This seemed to be the perfect opportunity to use different creative and technical skills that our team had.
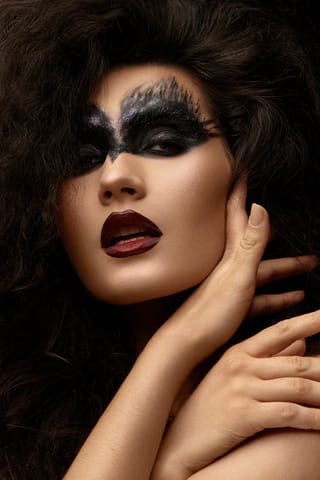
We began with a basic retouching of the model. We tried to smooth out the skin, remove the blemishes, dark eye circles, and other unsightly things but keep it all-natural and realistic. Sometimes we had to slightly use the liquify tool to give it the shape we desired and to clone stamp some elements of the photo to make it more appealing. For the skin retouching, we used frequency separation and other advanced techniques to make it as realistic as we could. We paid particular attention to the passages of light on the model skin, face, and hair.
After this step, we began the photo manipulation which implied very advanced techniques like digital painting by using different brushes, clone stamps, and object recreation. Everything was done by using Photoshop CC